Ever wondered how to achieve perfect straight edges or wished you could get rid of that uneven join in the round? This list of five knitting tips and hacks explains how to solve these problems and more!
Let’s Get Learning
This list is great for beginners and experienced knitters alike. As an experienced knitter, I am always looking for new and easier ways to do things because some parts of knitting can get frustrating and little tricks can make the experience so much more enjoyable.
Knitting Tip 1: Knit the first two stitches of ever row tighter for even edges
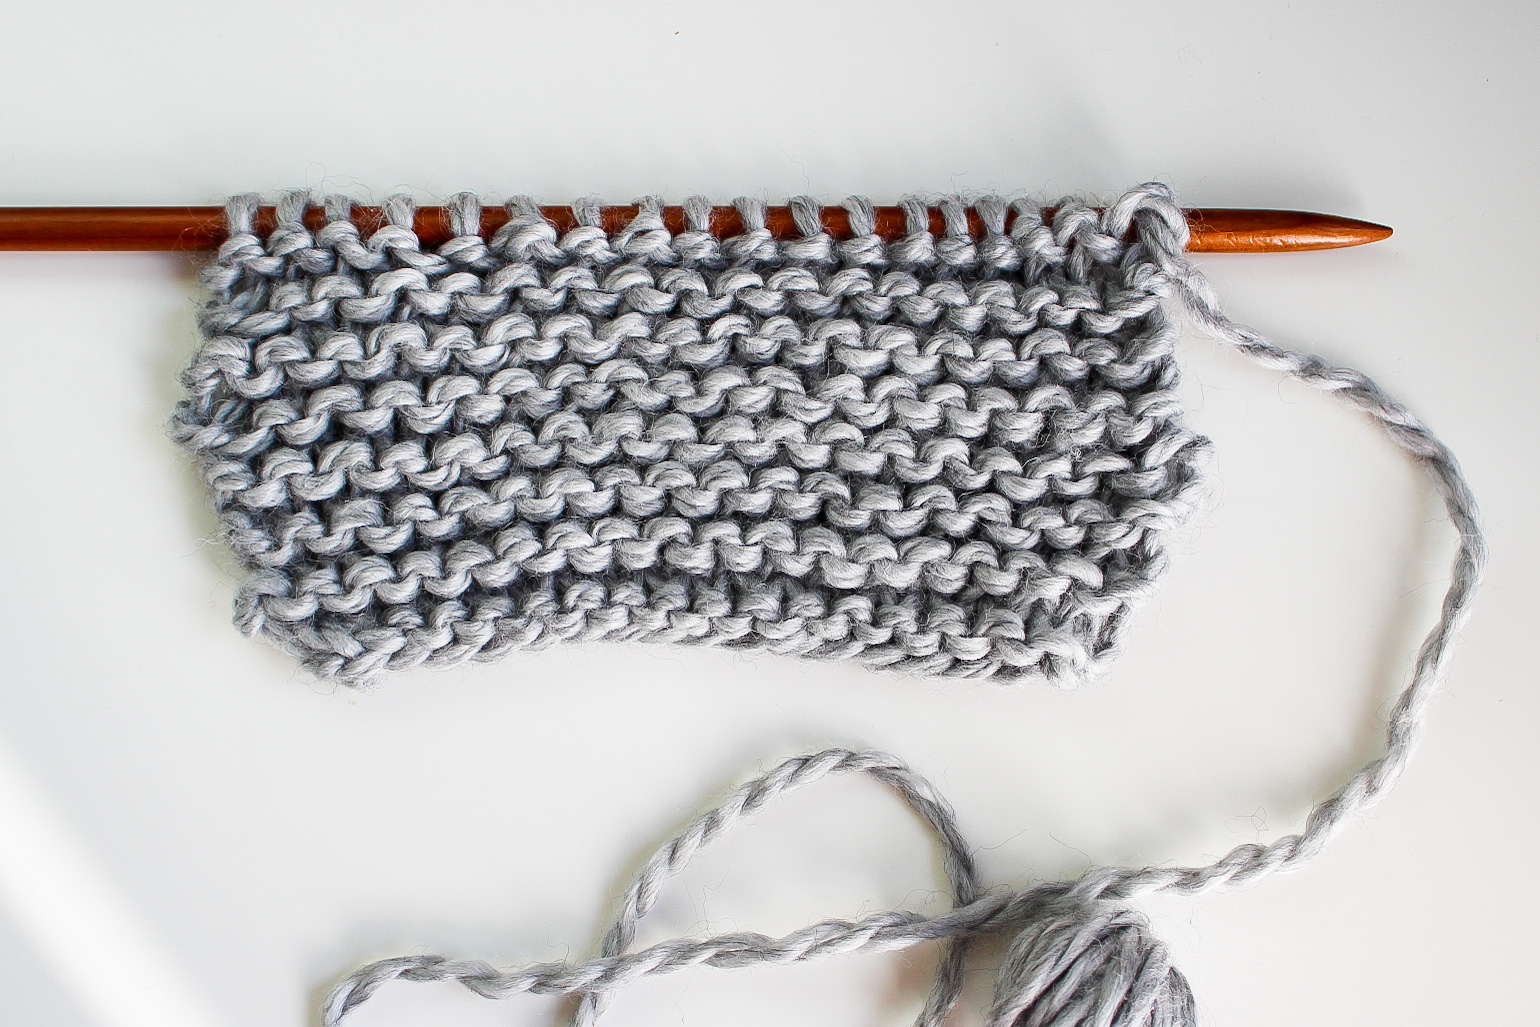
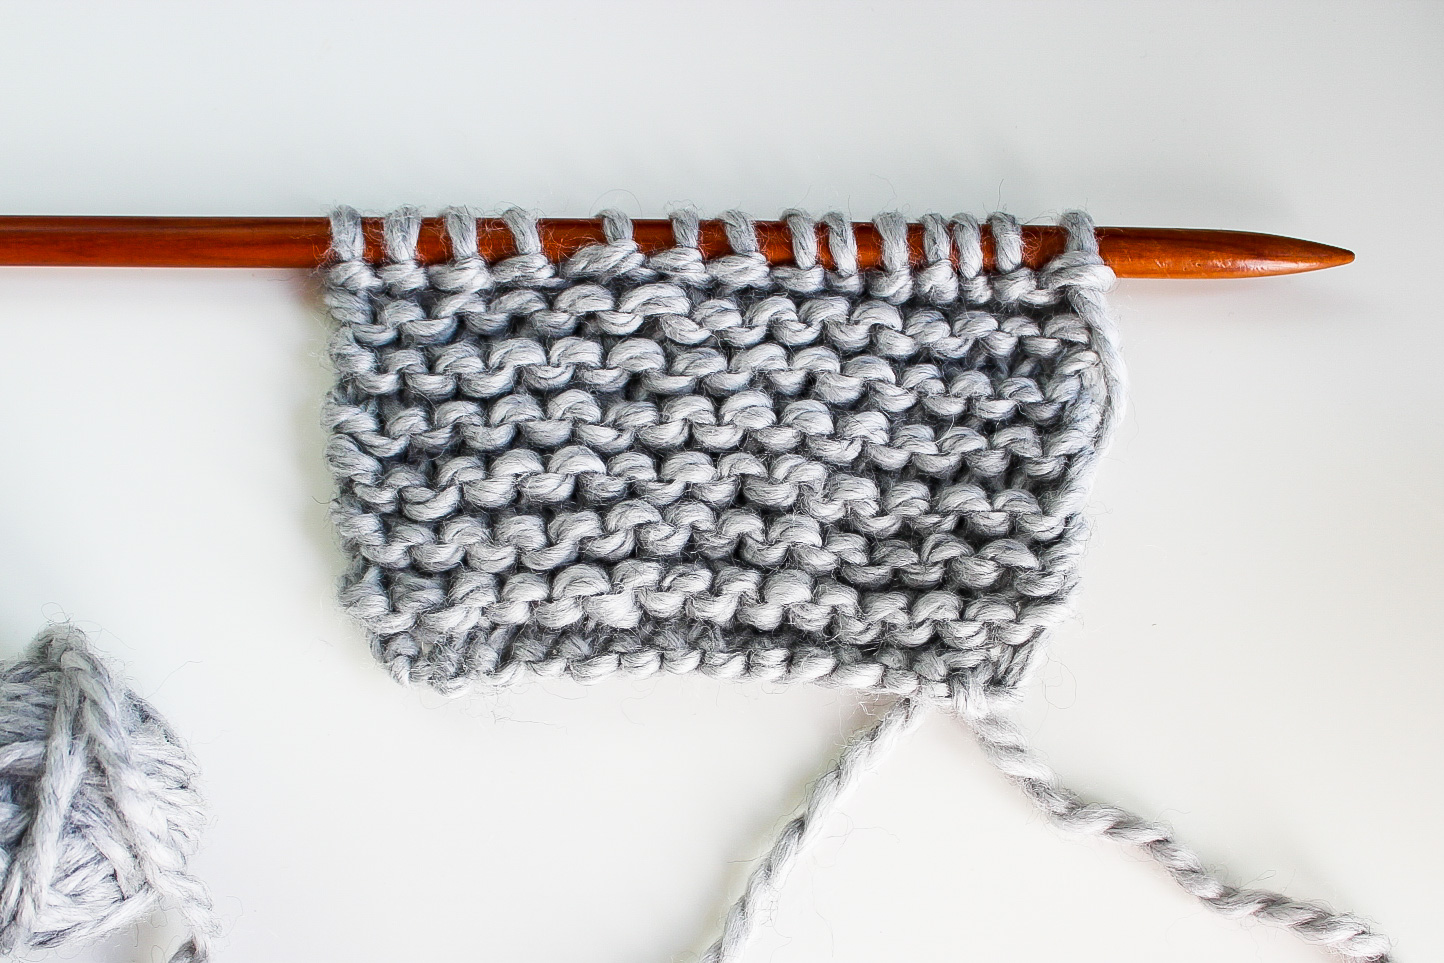
When I first started knitting, one of the most frustrating things was weird uneven edges! I couldn’t for the life of me figure out how other knitters were able to get their edges so crisp and straight. It wasn’t until I learned this first hack that I was able to finally achieve those dream edges on my knitting. The secret to even edges is easy. Simply, knit the first two stitches of ever row a bit tighter than the rest of your stitches. I couldn’t believe what this simple change did for my knitting! Now I get complimented all the time on my neat straight edges and I always share this secret to everyone that craves that beautiful crisp edge.
Pictures Below: Top picture shows messy edges without this hack. Bottom picture shows neat edges using this hack.
Knitting Tip 2: It’s okay to pick up too many or too few stitches on an armhole
I used to dread and avoid any time I reached the part in a pattern that required picking up stitches for armholes. In fact, I would say this is the main cause for most of my unfinished objects. No matter how hard I tried, it seemed impossible for me to get the right stitch number as the pattern recommended. I would spend hours undoing and redoing my picked-up stitches, which frustrated me to no end. But this is no longer the case after I stumbled upon this genius hack! When picking up stitches along your armholes, don’t stress so much if you pick up too many or too few stitches. Simply increase or decrease these stitches at the underarm seam in the first few rows and voila! You don’t have to spend any more time undoing and redoing your picked-up stitches to get that perfect amount! And the best part is those increases and decreases you added will be hidden under your sleeve. So no one will ever know!
Knitting Tip 3: Use stitch markers to help check your stitch count on big shawls
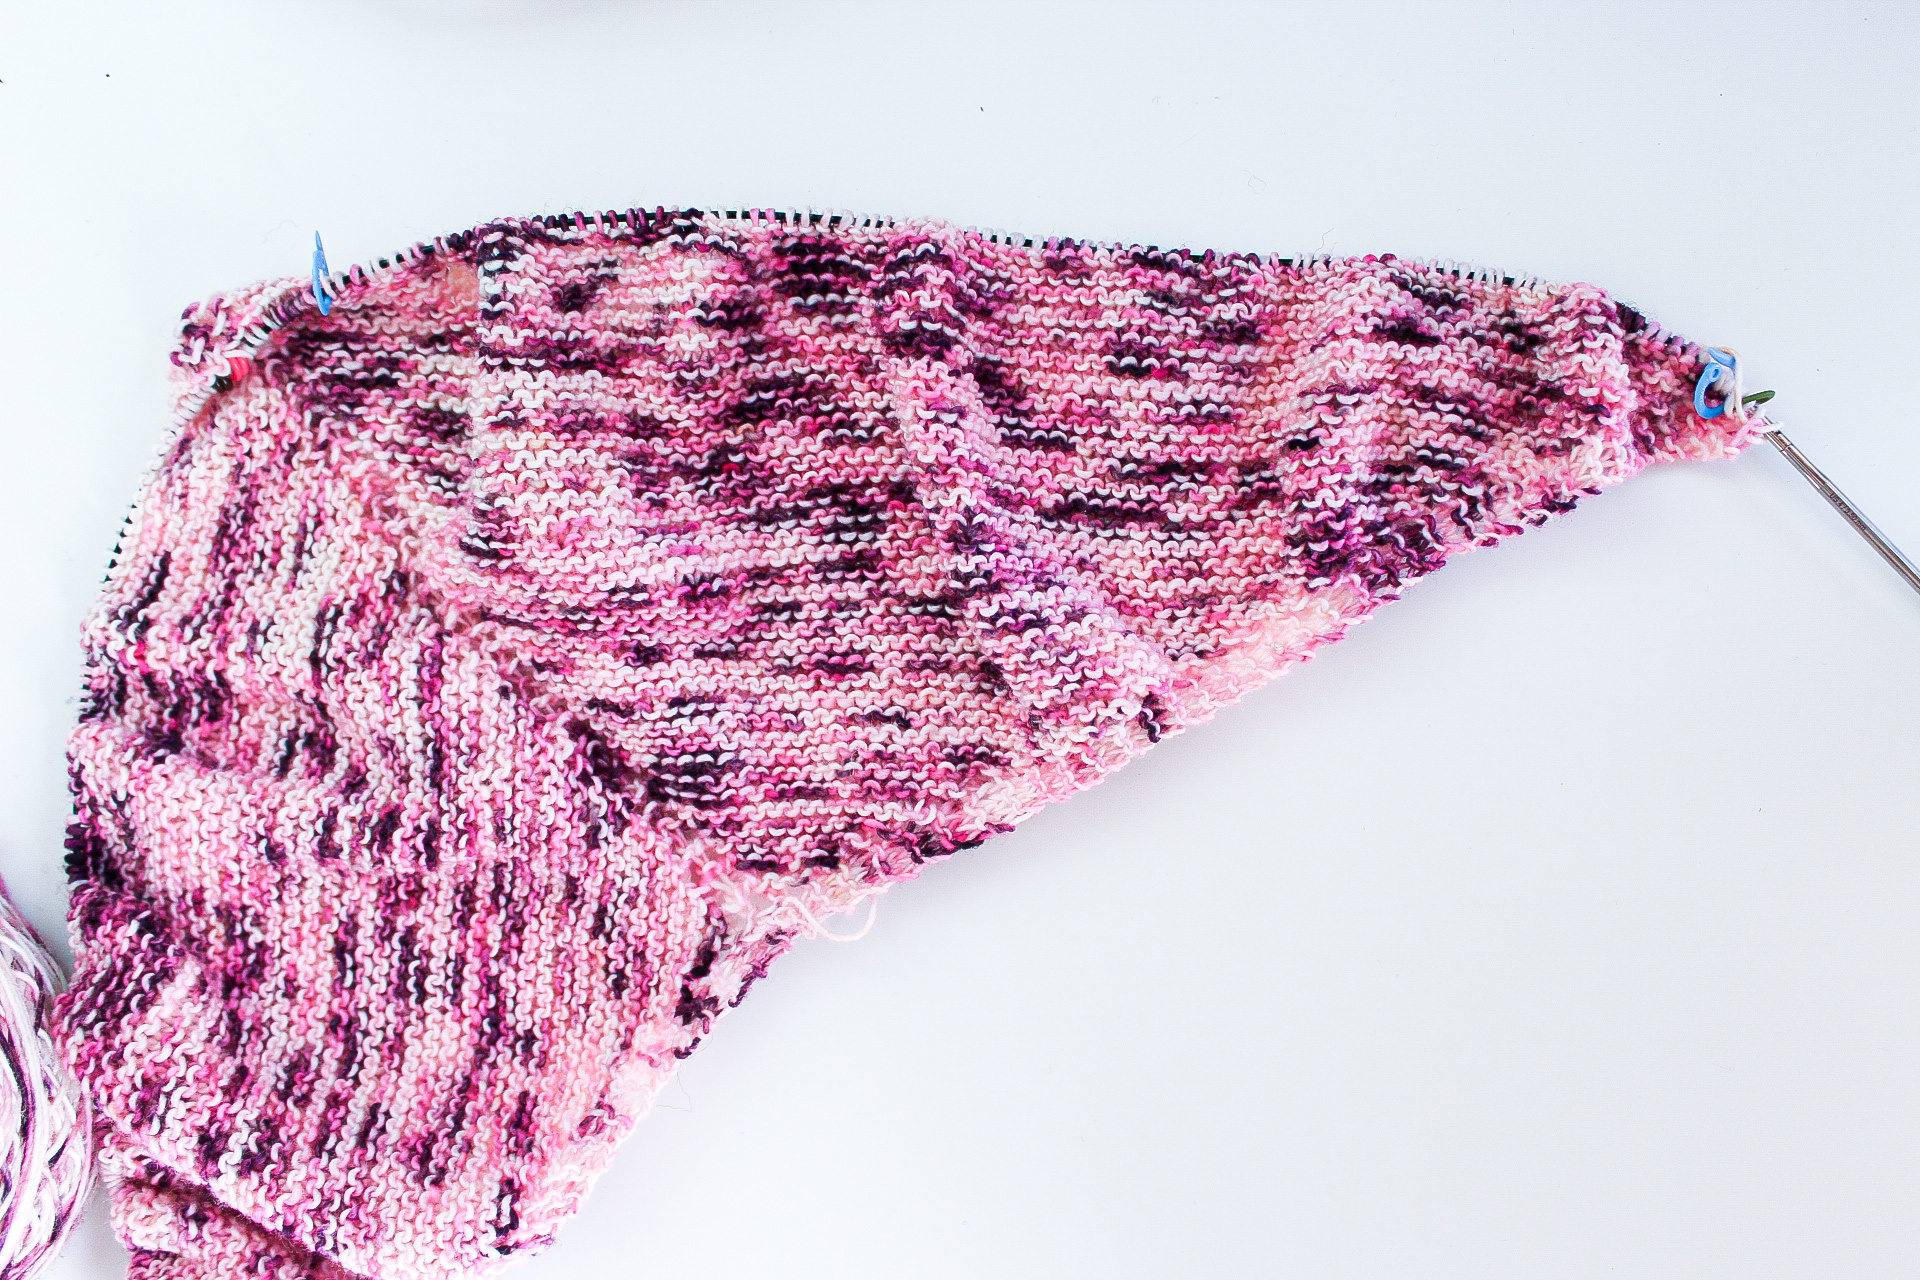
The latest trend I have been seeing everywhere and loving is making shlankets! A shlanket is a shawl that is big enough to also be used as a blanket. And I am all in for this trend! Unfortunately, shlankets can come at the cost of an enormous stitch count, which can easily get difficult to manage. One hack that I use to keep the counting manageable and easy is mark off amounts of 100 with stitch markers. It’s just like the bundle counting we learned in grade school. You only need to count the group of 100 once, mark it off, and then count only what is outside the group of 100. For instance, let’s say my shawl has reached 234 stitches and I have already marked off two sections of 100. Then I only need to count the 34 stitches. Easy, right! So much less counting! Just make sure your stitch count stitch markers are different looking than your center or side border stitch markers. Also note that with triangle shawls marking off groups of 100 within each right or left triangle and not across the center stitch increases is best.
Picture Below: Blue stitch markers mark a section of 100 sts on this triangle shawl.
Knitting Tip 4: Cast on one extra stitch when working in the round
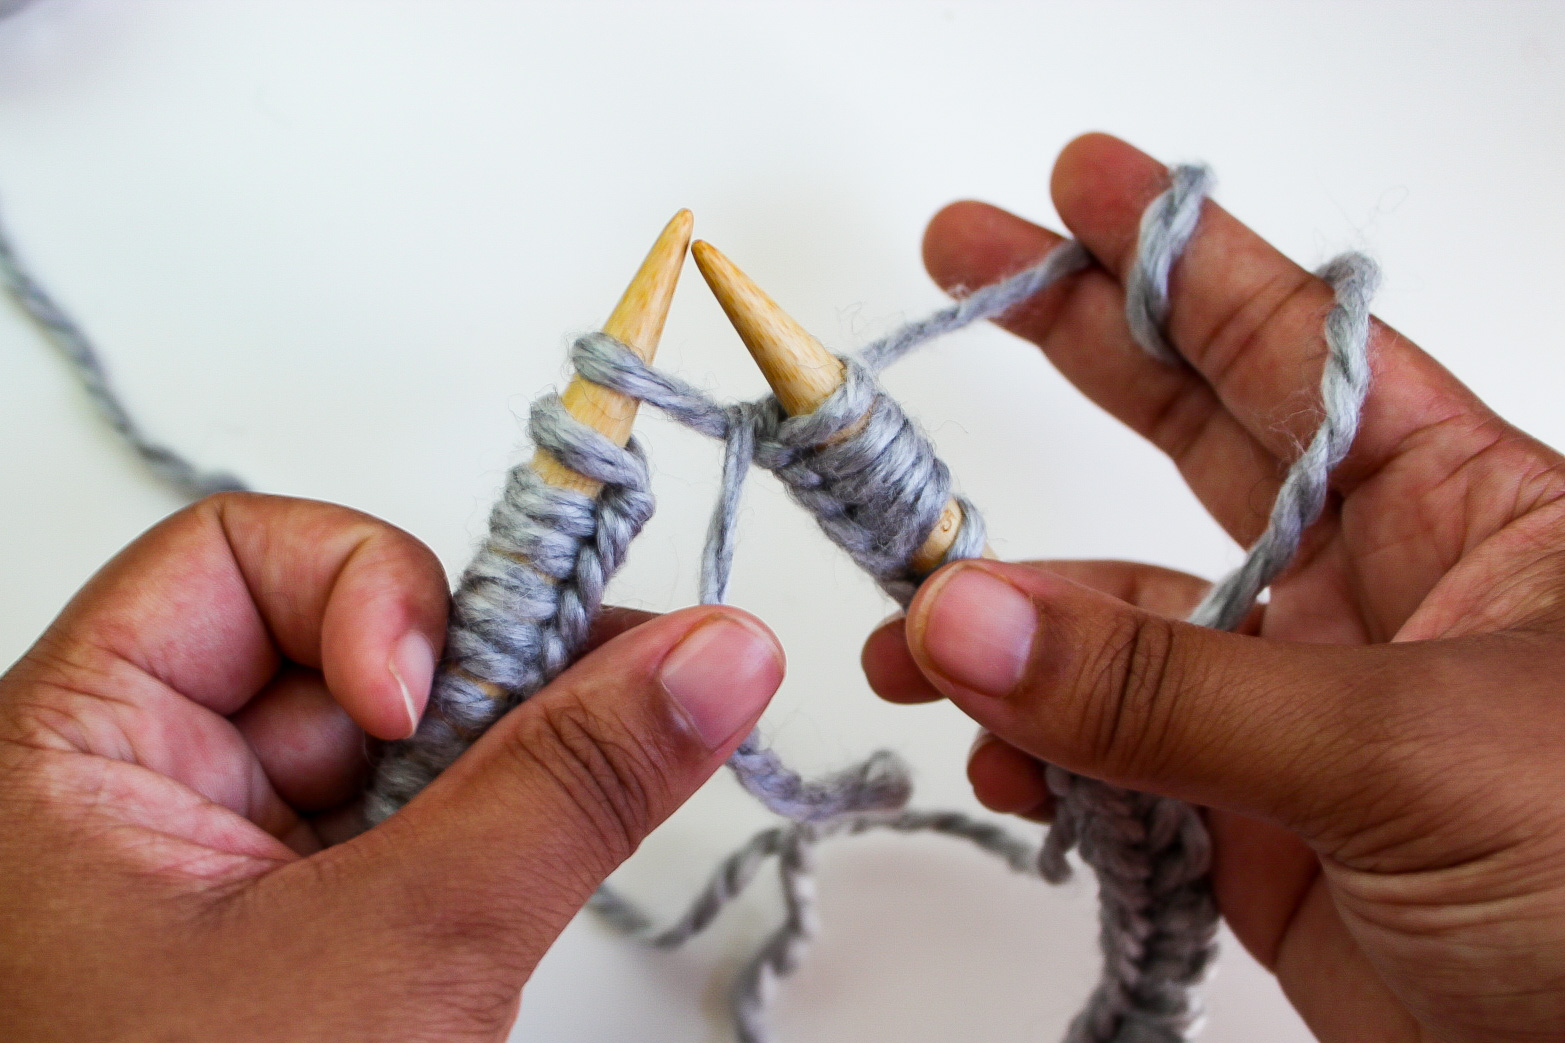
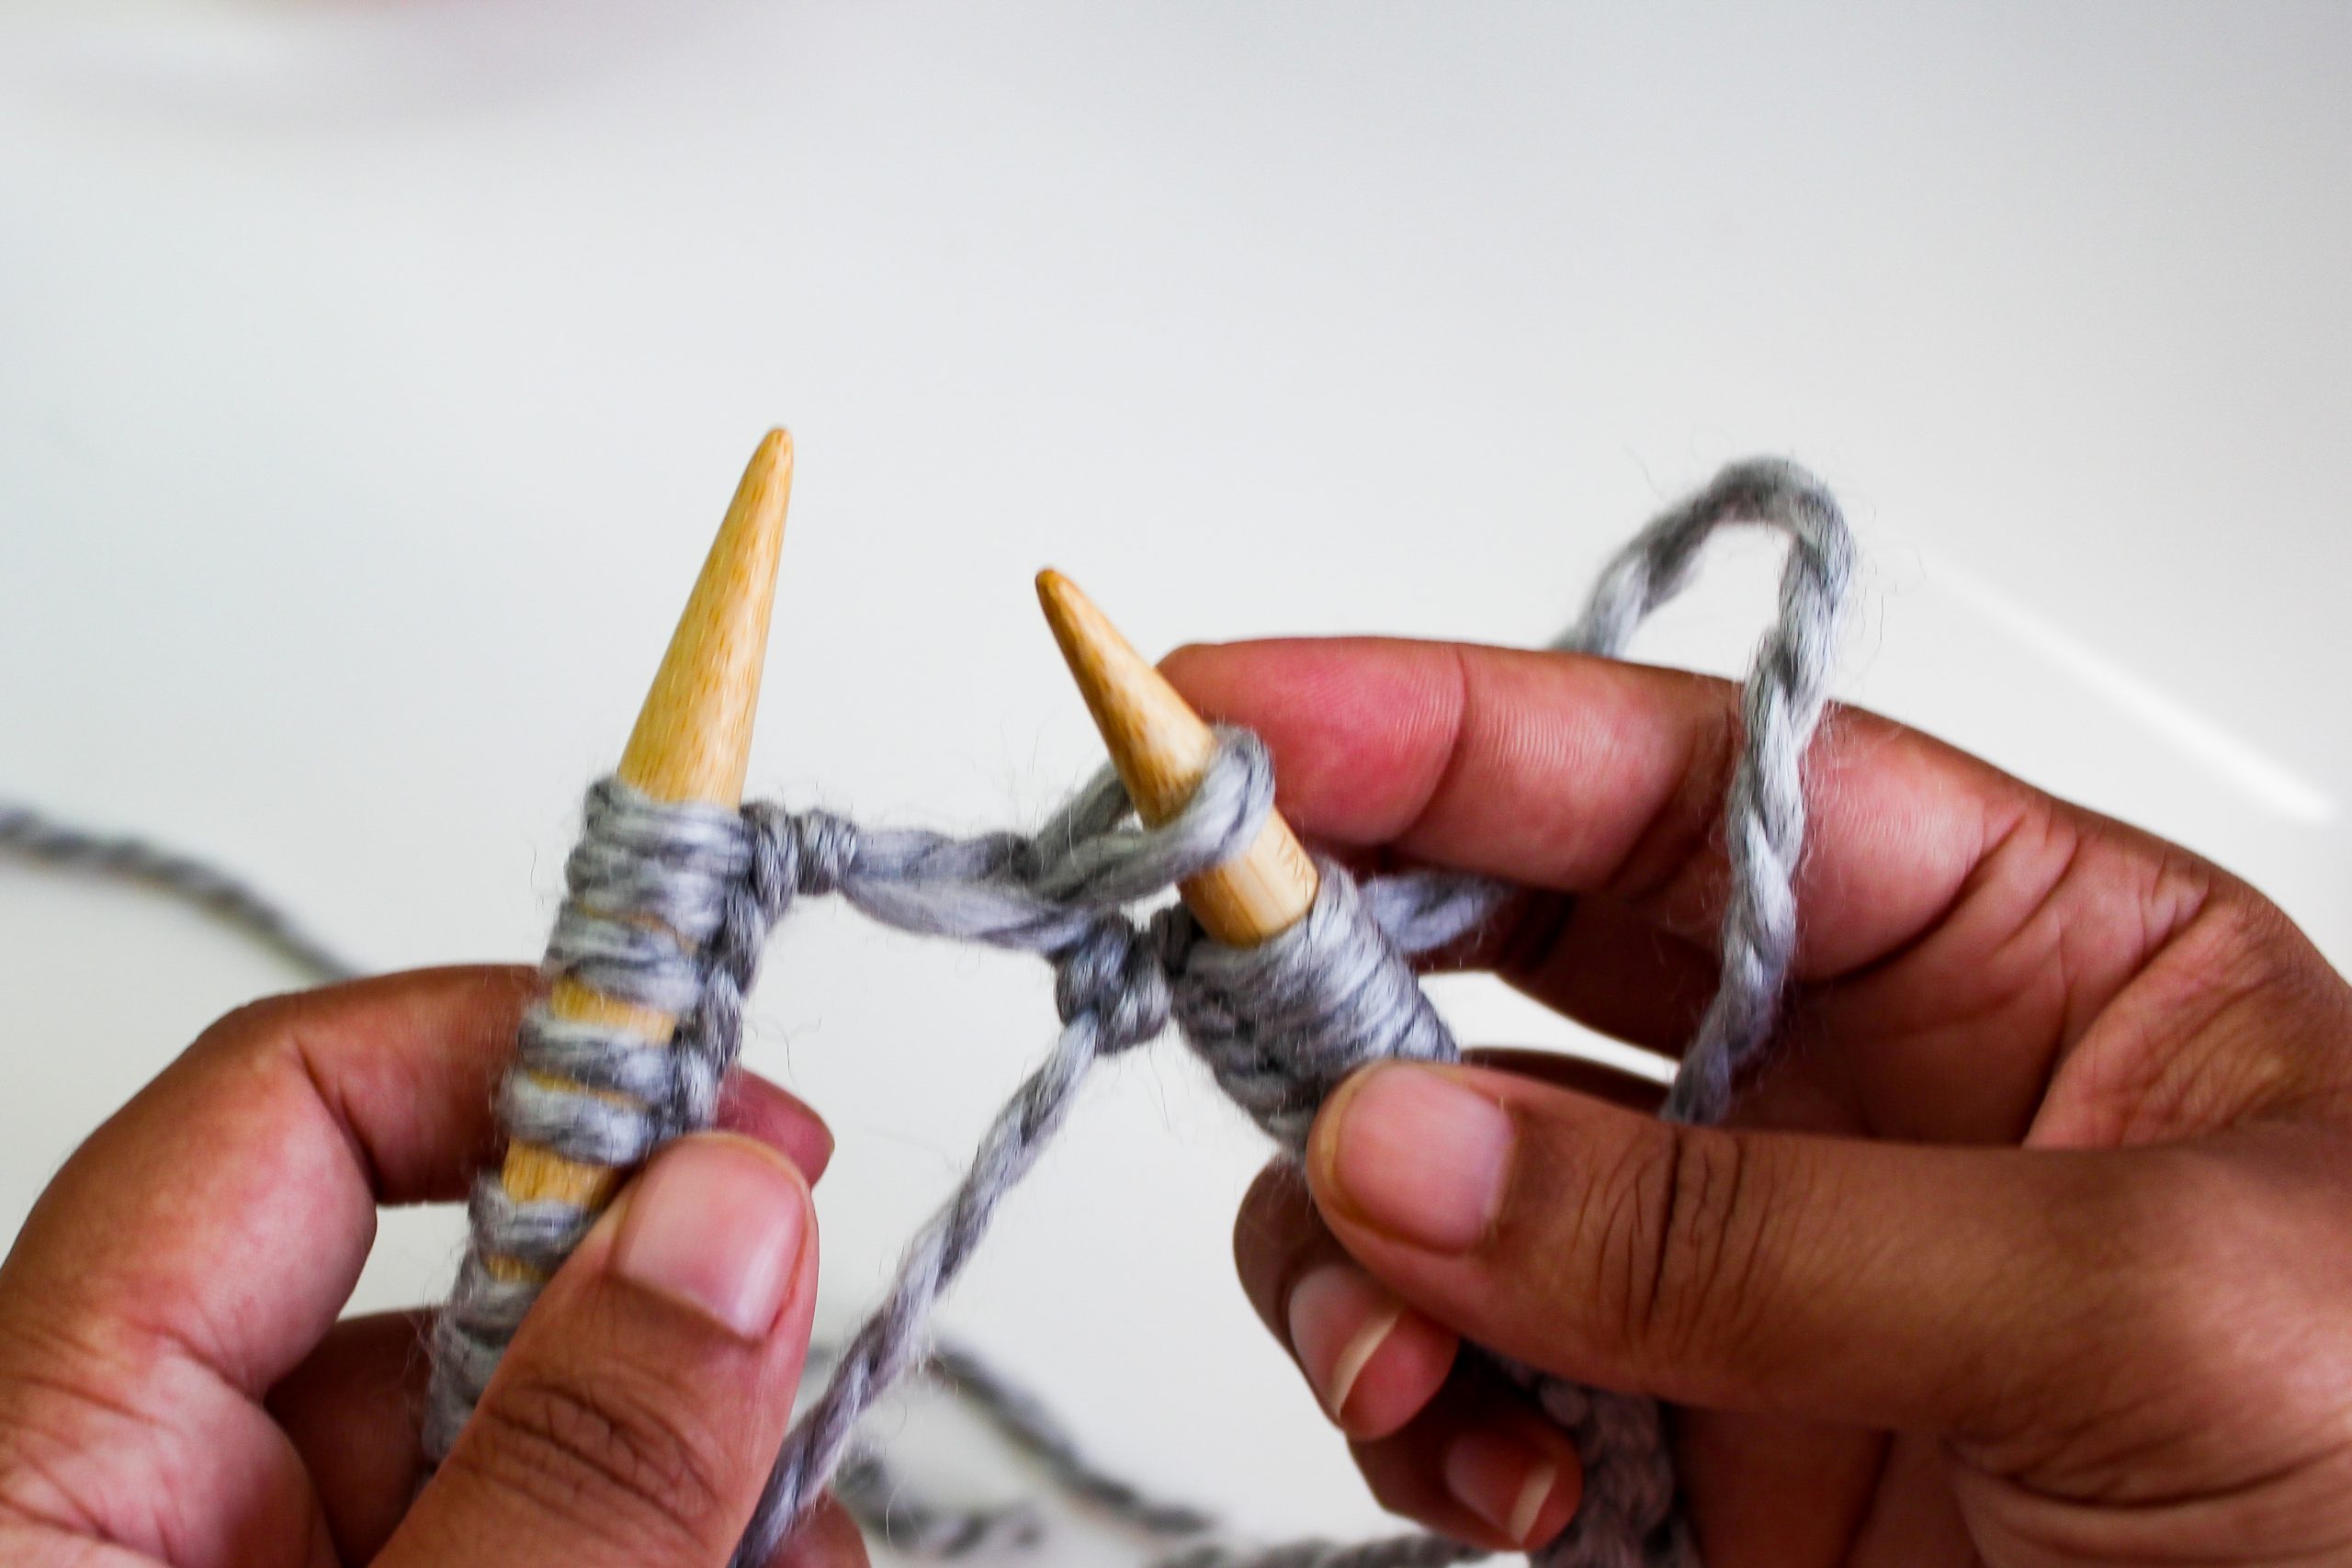
Once I learned to join in the round, I quickly became frustrated with the unevenness at the beginning of the first round. When weaving in ends, I always did my best to hide the annoying bump, but it never seemed good enough. Then I learned a little trick to eliminate the uneven join altogether. When casting on your stitches to join in the round, cast on one extra stitch and arrange your needles to work in the round. Then move the last cast on stitch to your left-hand needle and knit together the first two stitches on the left-hand needle. This decrease stitch will be the first stitch of your round and joins the work tightly for an even beginning of round join.
Pictures Below: Top picture shows moving last cast on stitch to left-hand needle. Bottom picture shows knitting together the first two stitches on the left-hand needle.
Knitting Tip 5: Invest in an interchangeable needle set
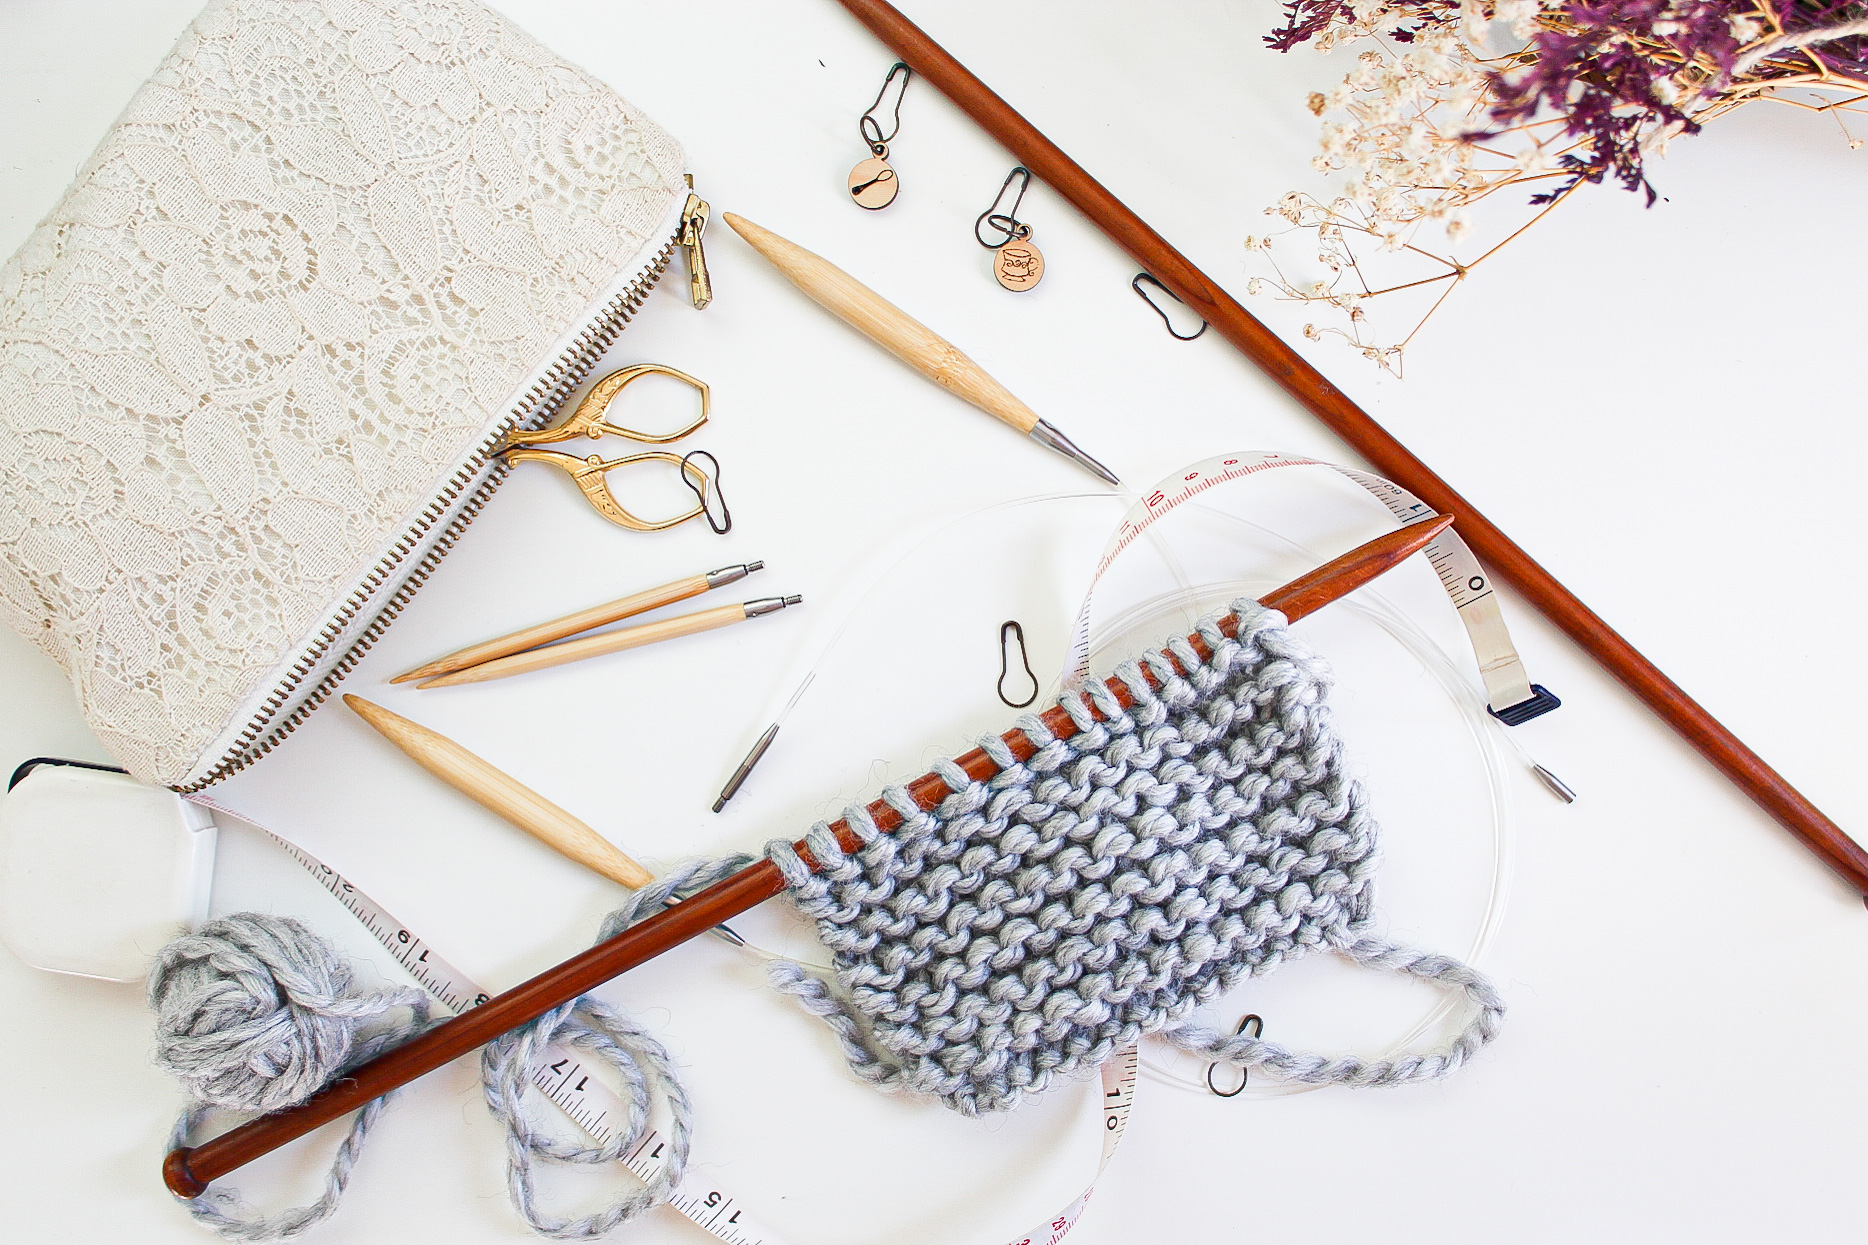
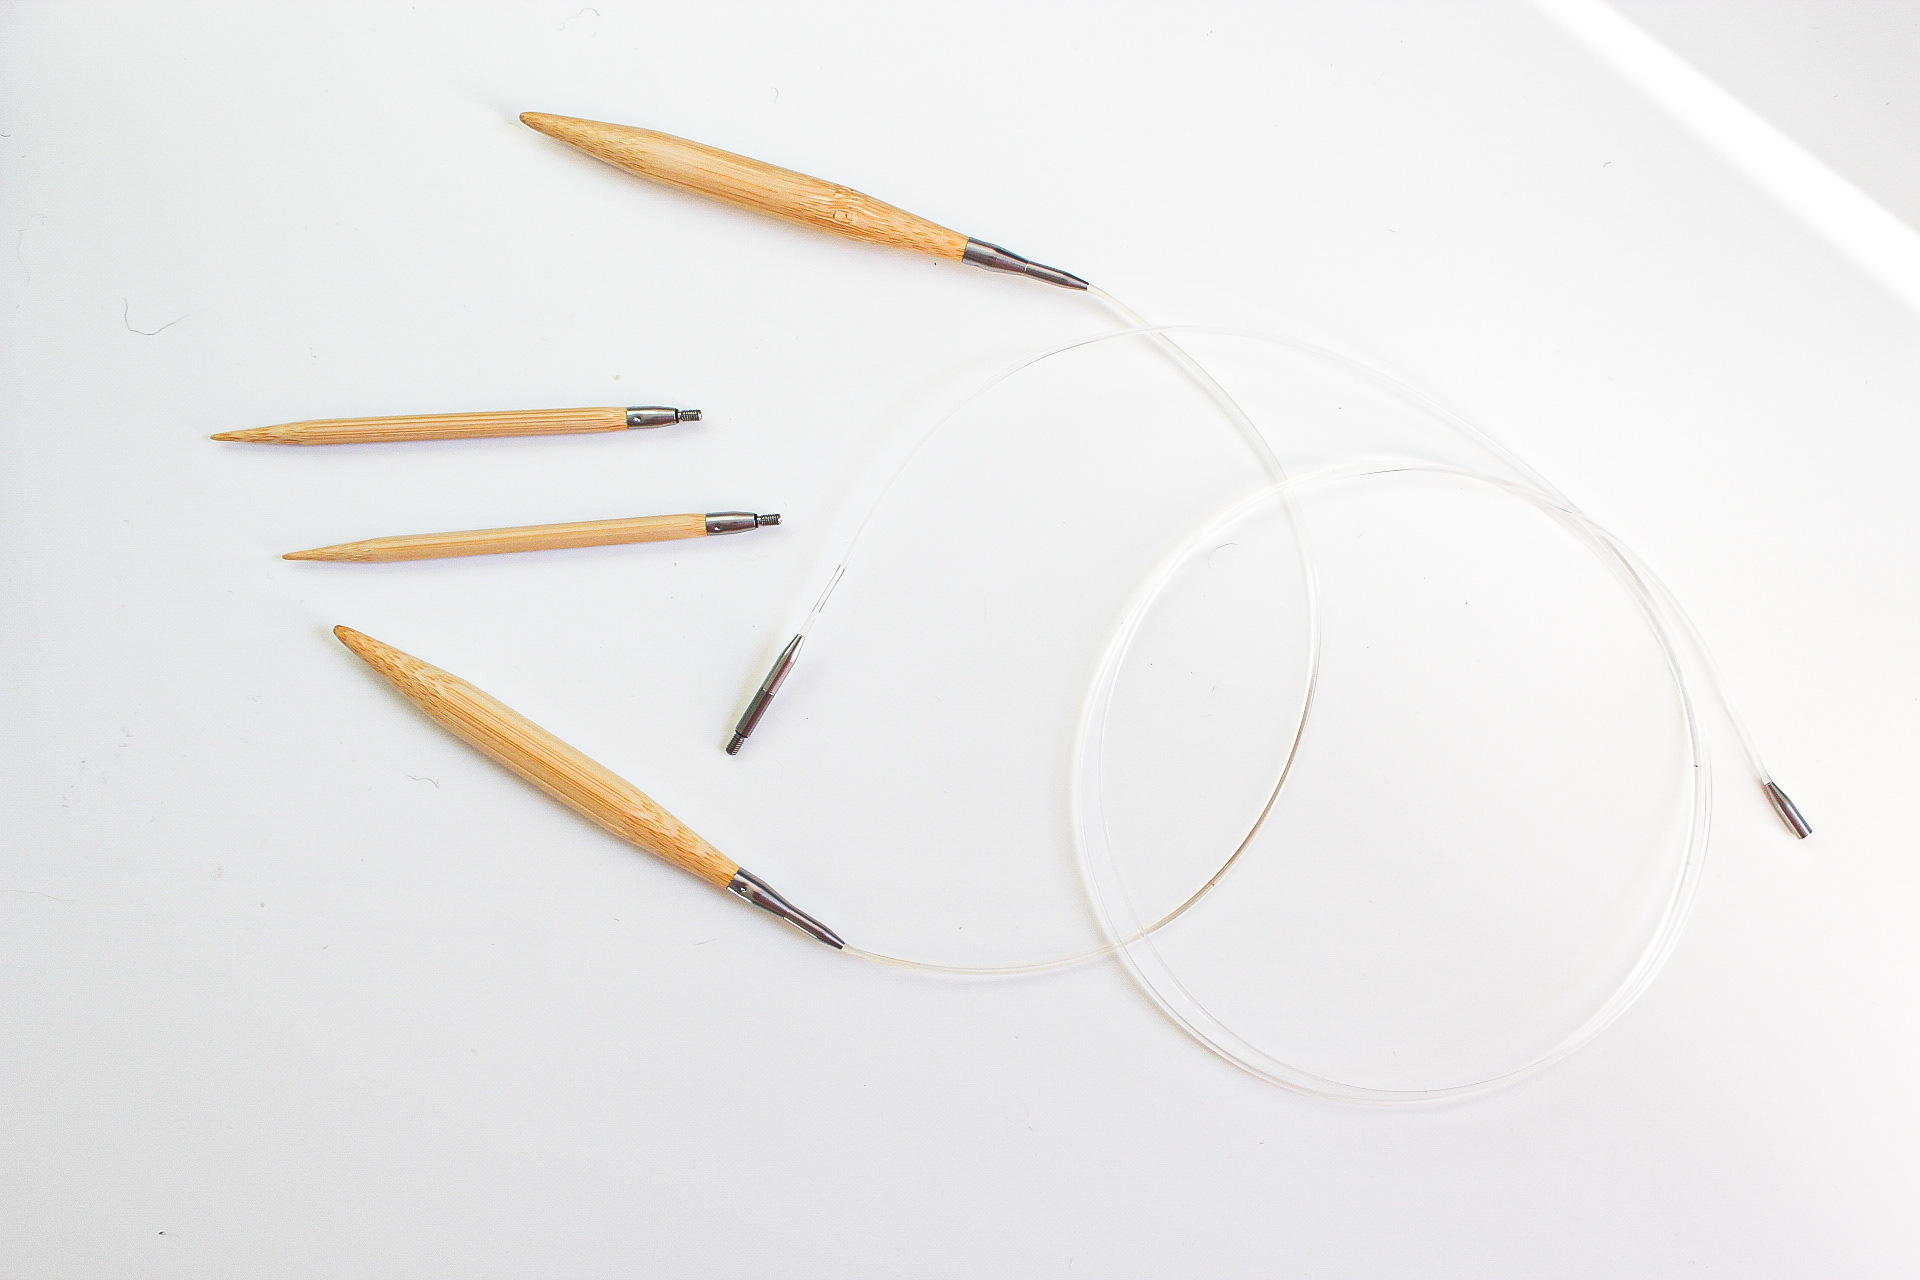
The best money saving and time saving move I ever made as a knitter was splurging on my first interchangeable needle set. An interchangeable needle set is a set of different knitting needle sizes that you can twist off and reattach to different cable wires. This lets you mix and match different needle sizes to different wire sizes to create the exact wire/needle size that you need for any project. Although interchangeable needle sets are a big investment upfront, you will make your investment back in the money and time you will save not needing to go to the craft store or your local yarn shop every time you have a new project you want to cast on.
Also don’t forget that craft store coupons and sales can bring the cost down! It also eliminates the stress of trying to make gauge for a pattern. Is your gauge too tight or too loose? Then going up or down in needle size it so easy to do with an interchangeable needle set. Another plus is that interchangeable needle sets have flexible wires like circular needles which makes them easier to store in project bags. Not always knitting in the round? No problem. You can easily knit flat or in the round on interchangeable needles. Need needles for a hat and a sweater? No worries. Just simply mix and match the needle size with the wire size you need and you can work on a range of projects from socks to hats to sweaters to blankets. If there was one tip I could share with all knitters, it would be this one!
I hope you were able to learn something new from this list of tips, tricks, and hacks! I also hope you try some of these tips and hacks for yourself and that they can eliminate some of the frustration from your experiences as a knitter.
Happy knitting, everyone!

Thanks so much for these tips. I feel great because I already us 2 of them!! Keep up the good work. MC
Thanks for the useful tips! I’ve wanted to invest in interchangeable needles, but the ones I’ve used keep coming unscrewed no matter how tight I screw them in. Any suggestions?
Thanks for the knitting tips especially the one about adding an extra stitch when casting on in the round!
I don't see how marking 100 sts off with a marker helps you not keep counting them? You can easily add or subtract a stitch in error and your st count will be off. Where am I misunderstanding the value? So many people even long time knitters notice a tendency to make errors when managing large numbers of stitches and if you are not knitting an obvious pattern you don't know it till down the pattern when it starts to not line up.
What's up, just wanted to say, I loved this post. It was helpful. Keep on posting!
This is a topic that's near to my heart... Many thanks! Exactly where are your contact details though?
great tips thanks for the help
Good tips, thank you.
These are all very useable tips. I was please to see some I was already doing. The straight edges tips is needed and welcome.
Great hints! Can you tell me whether there are left handed knitting books on the market and what the email address might be Thanks