A half-pi (half-circle) shawl is one of the simplest shawl constructions to work. They are worked by doubling the number of stitches each time you’ve doubled the number of rows.
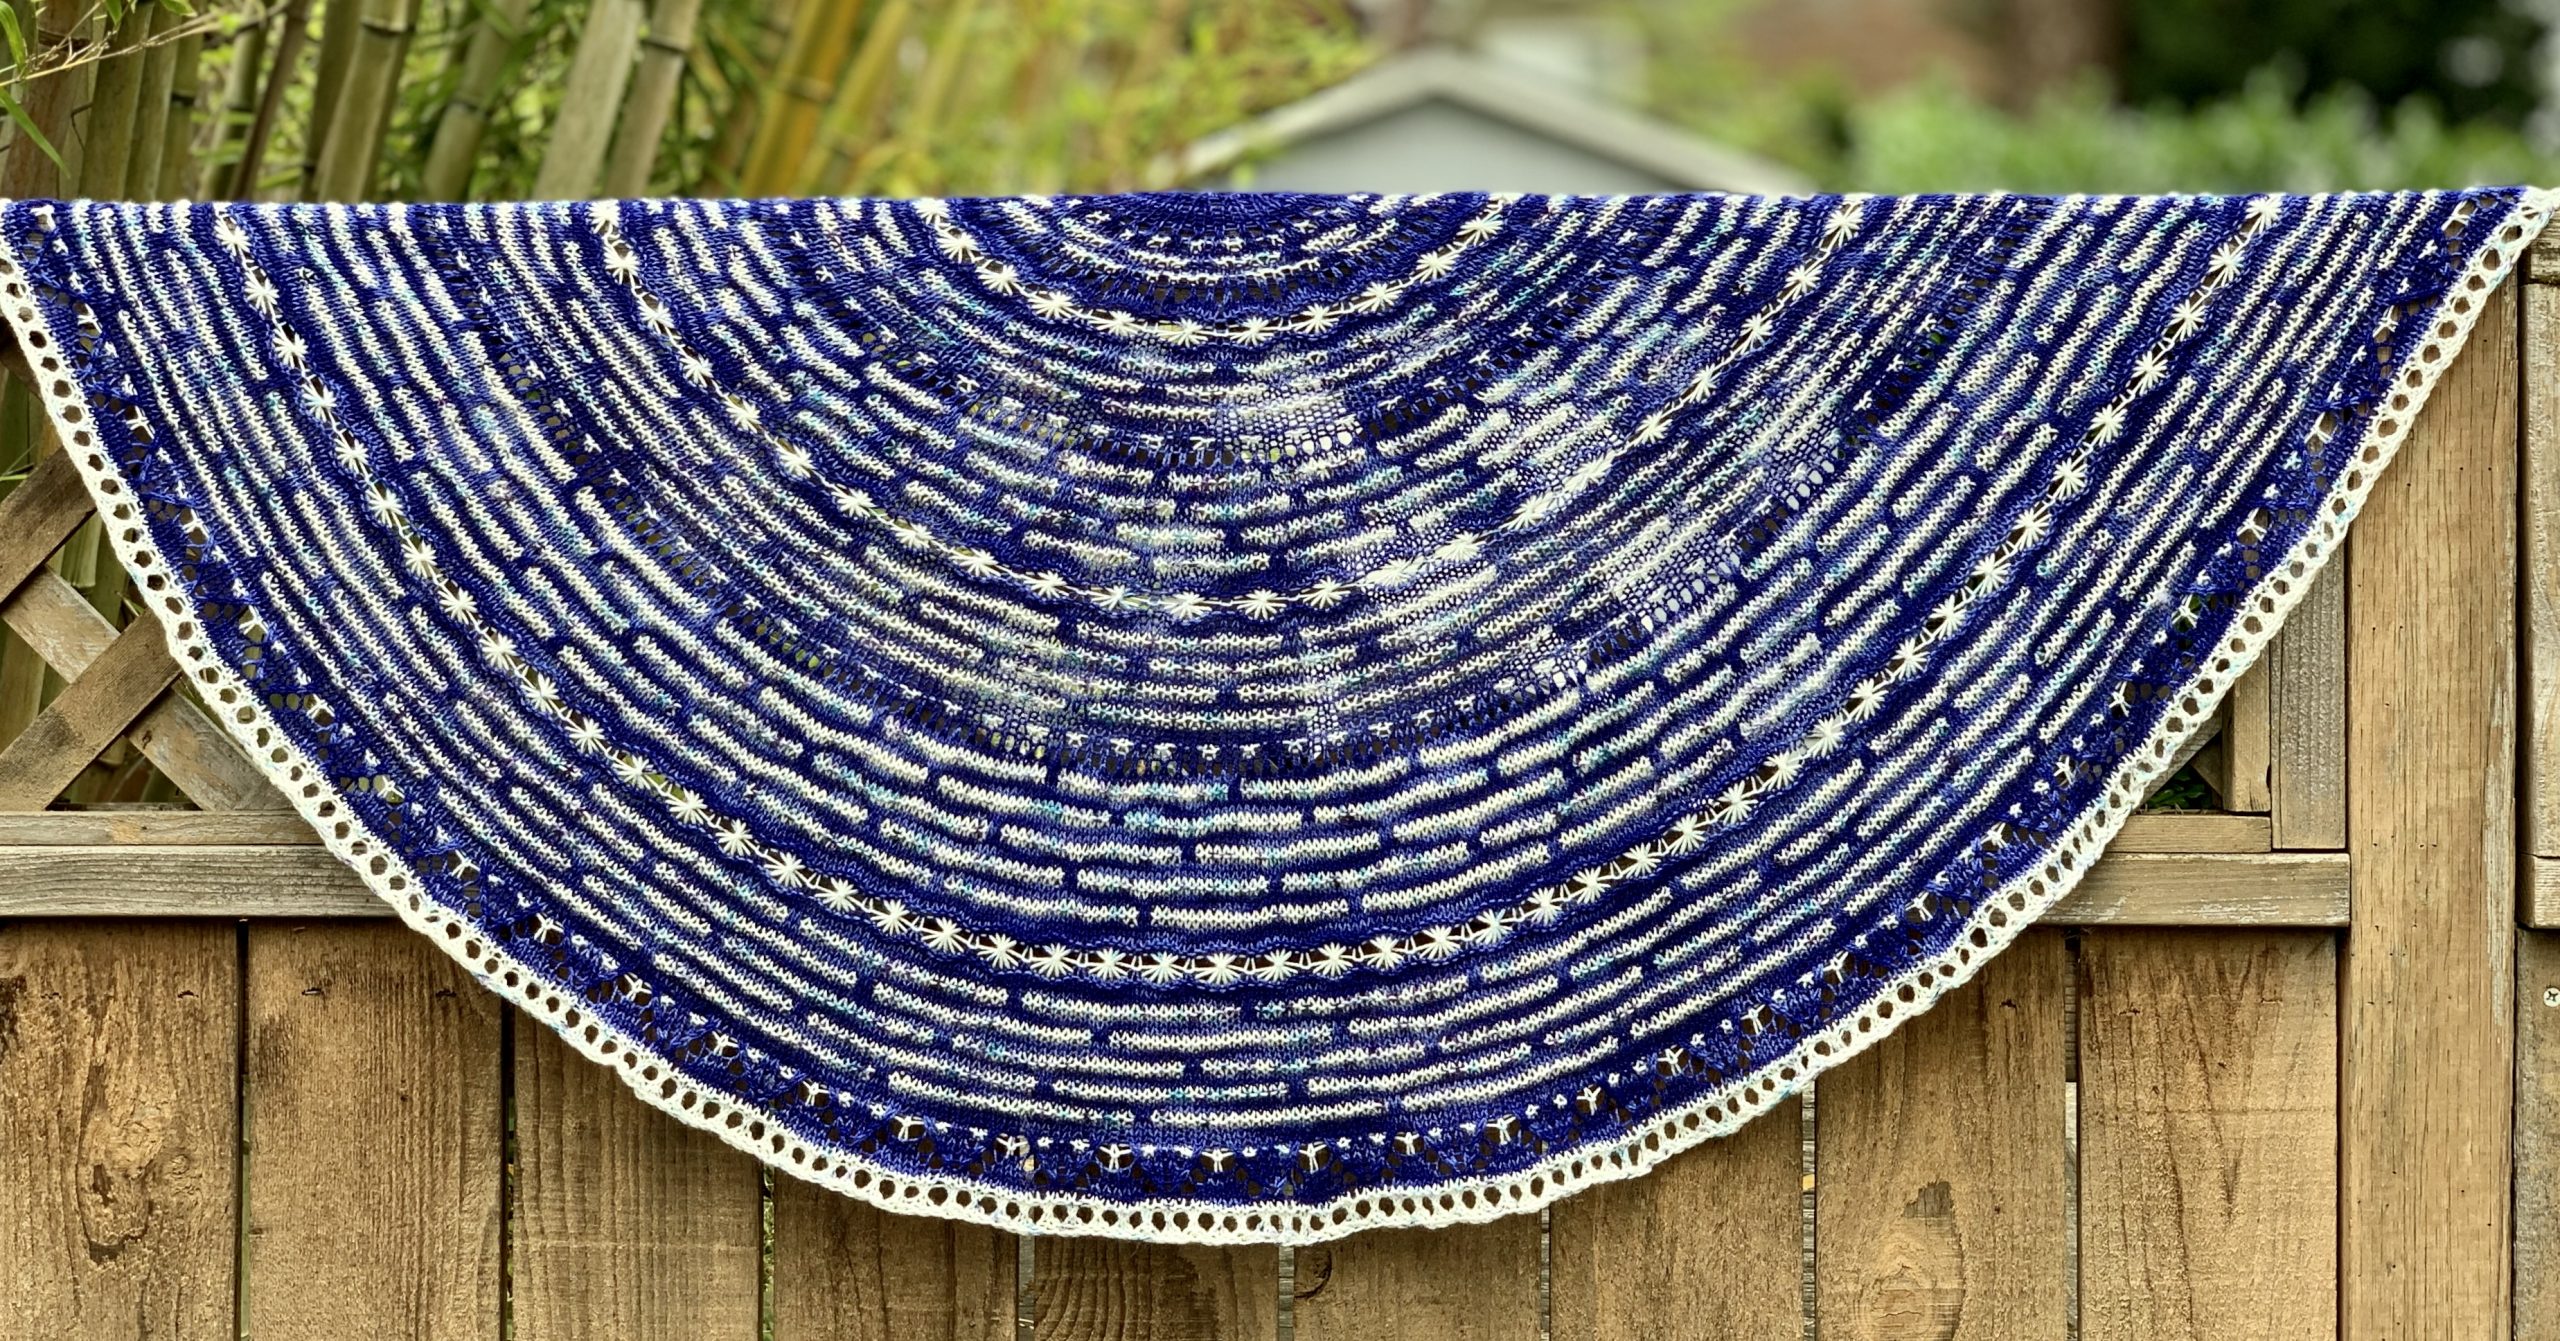
Increases are made all at once in one row, so it’s easy to maintain stitch patterns between increase rows.
Let’s Get Started:
As for all shawls, you’ll want to knit fairly loosely to give your fabric drape. Choose a needle 2-3 needle sizes bigger than your ball band suggests. You can get a very nicely sized half-pi shawl with two 400-yard skeins of fingering weight yarn, and needles somewhere between a US 3 (3.25 mm) and US 5 (3.75 mm). Choose a needle size that gives you a fabric you like.
Abbreviations:
- k: Knit
- kfb: knit into the front and back of the same stitch
- p: Purl
- pm: place marker
- rep: repeat
- RS: Right Side
- st(s): stitch(es)
- sm: slip marker
- WS: wrong side
- yo: yarn over
Step 1: Garter Tab Cast On
Cast on 3 sts. Knit 7 rows. (or 2 rows for every stitch you want to pick up, plus 1 more row)
Row 1 (RS): K3, turn work 90-degrees and pick up and knit 3 sts along edge (I pick up in the garter bumps), turn work 90-degrees, and pick up and knit 3 sts along cast on edge. 9 sts
Row 2 (WS): K3, P3, K3.
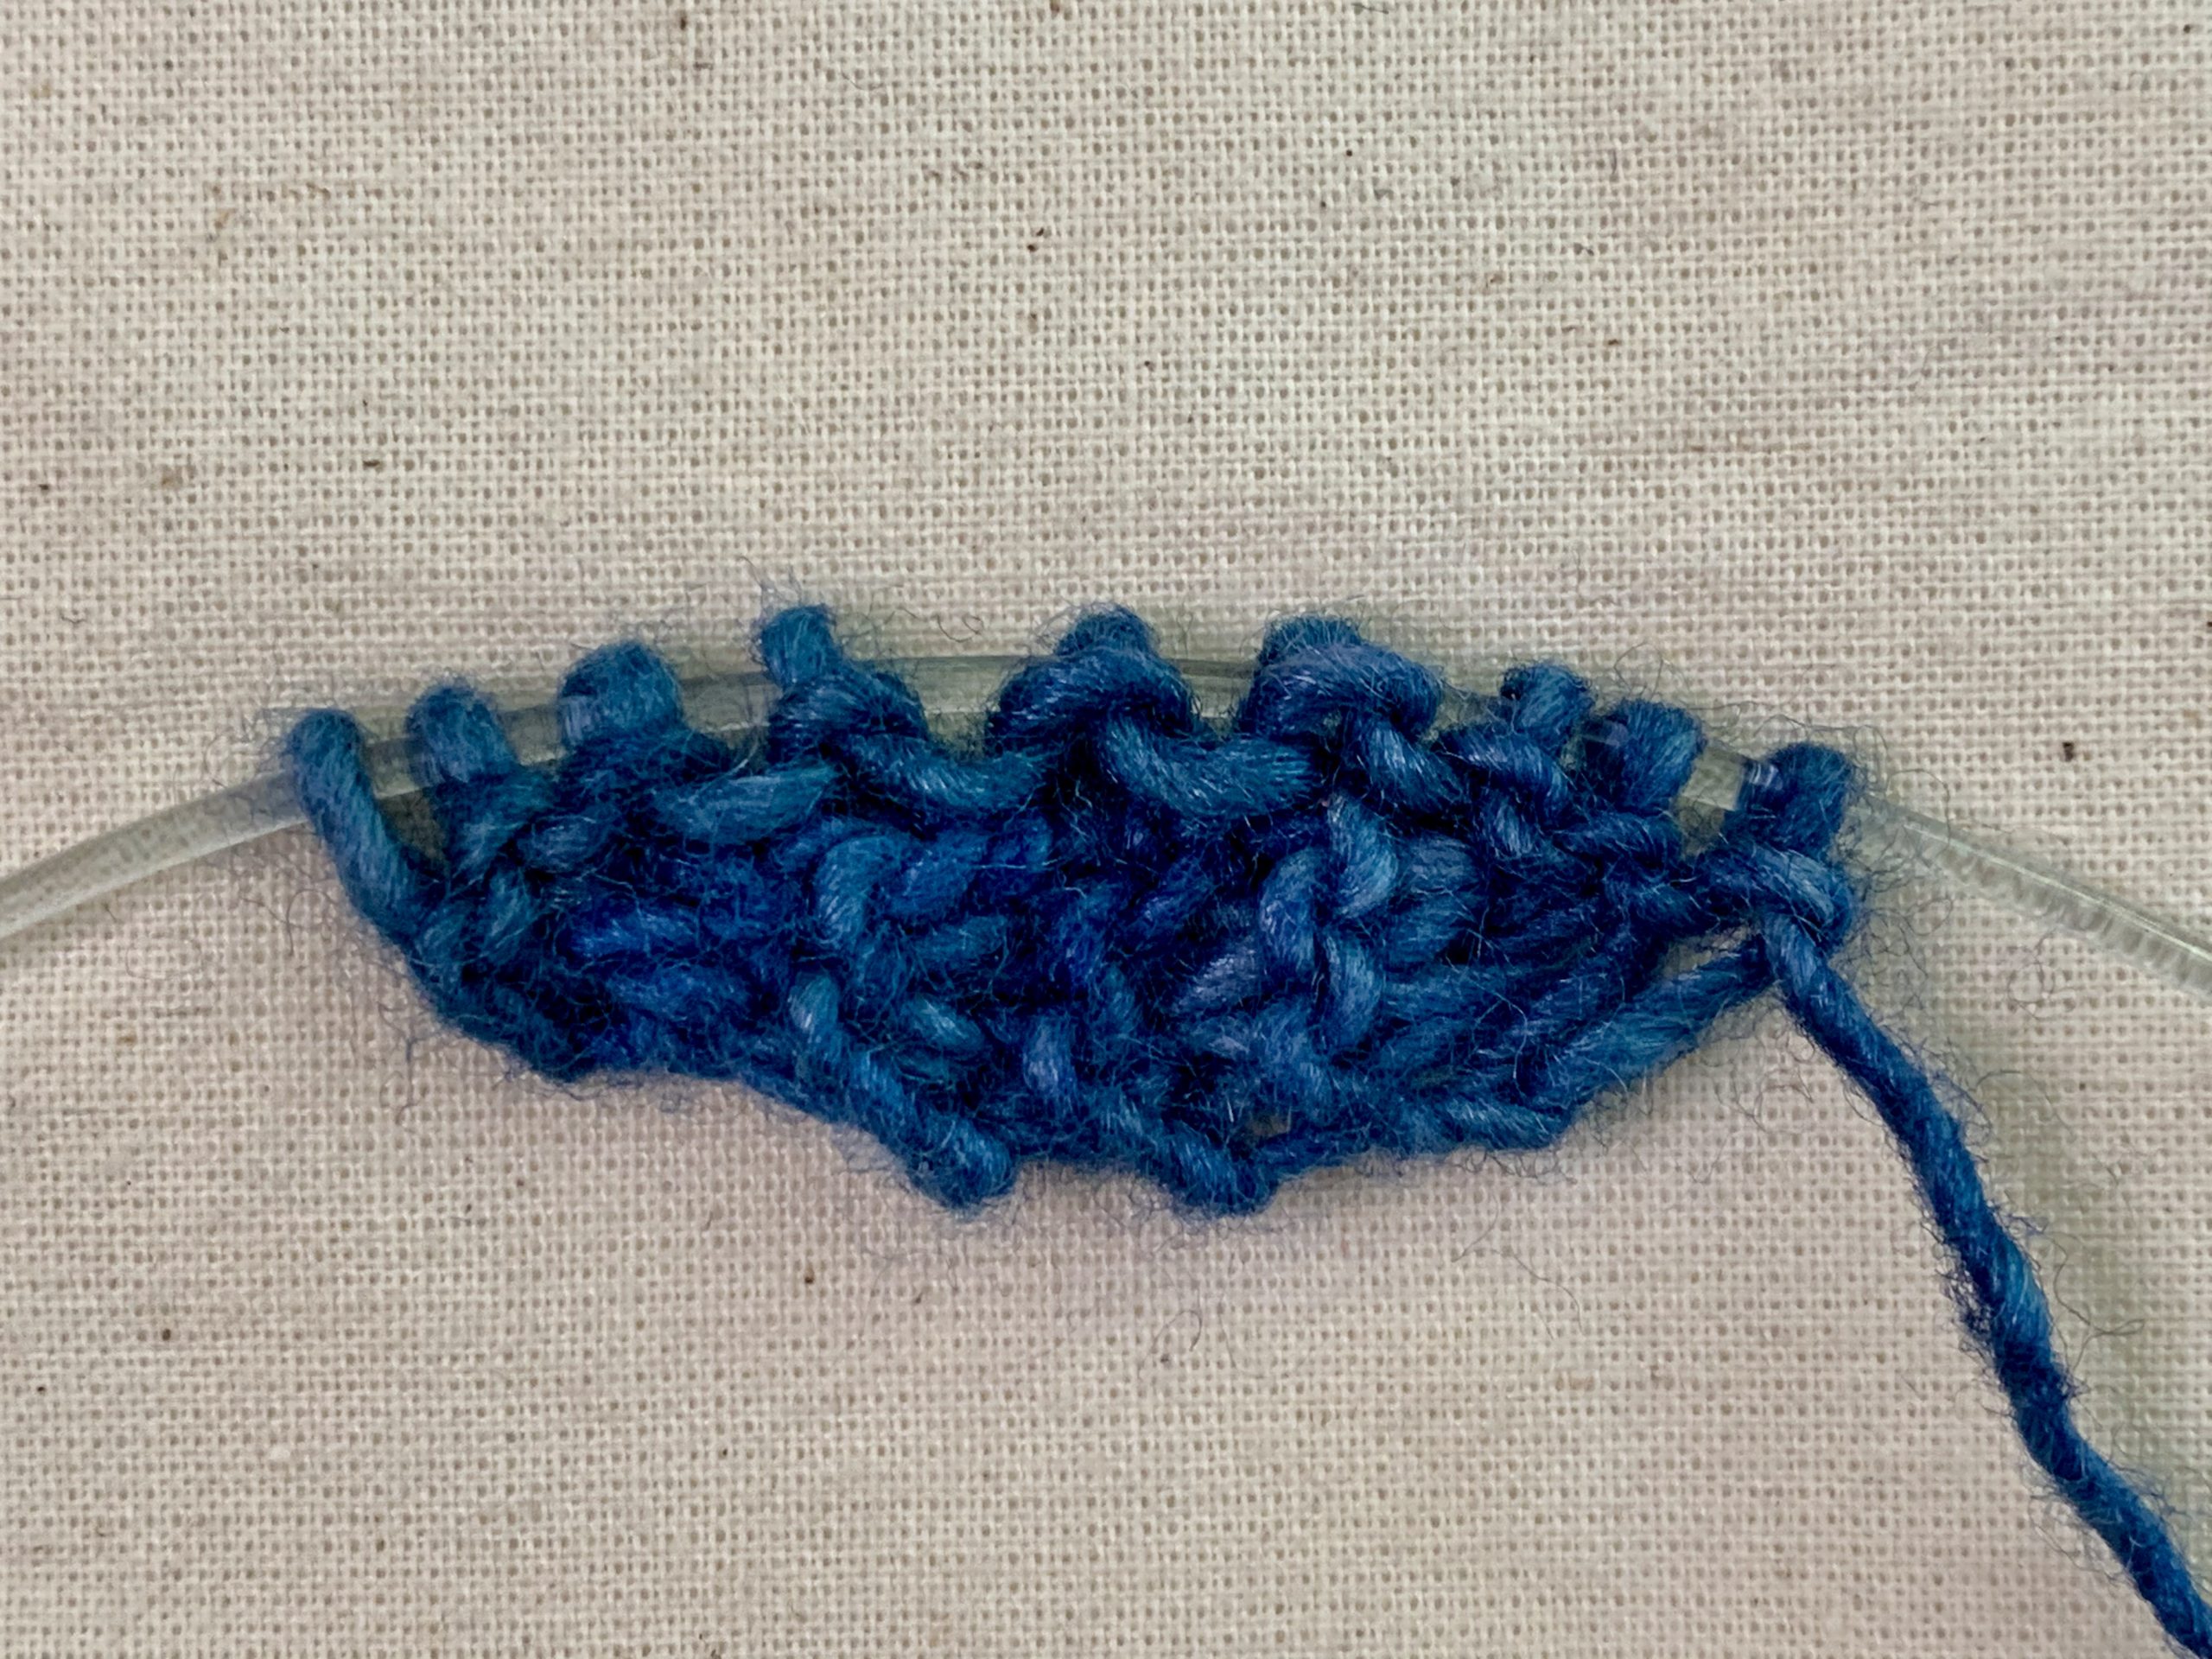
It doesn’t look like much, but this 9-stitch “garter tab” is the beginning of your shawl. The first and last 3 stitches of each row form a garter stitch edging; they will always be knit stitches. The body of the shawl grows from the 3 center stitches. Place markers between edging and body stitches to help you remember to knit the edge stitches. You can adjust the number of body stitches to work with your intended stitch pattern, and you can work in any stitch pattern you like. We’re going to work our sample in garter stitch (knit right and wrong side rows), to keep it simple.
Step 2: Begin Working Body of Shawl
Row 3 (RS): K3, pm, yo, kfb, yo, k1, yo, kfb, yo, pm, k3. 15 sts total; 9 stitches in center body, plus 3 sts at the beginning and end of each row for garter stitch edging
Note: Slip markers on all subsequent rows.
Rows 4 – 6: Knit all stitches. (3 rows worked)
Row 7: K3, sm, *k1, yo; rep from * to marker, sm, k3. 24 sts total; 18 stitches in center body, plus 3 sts at the beginning and end of each row for garter stitch edging
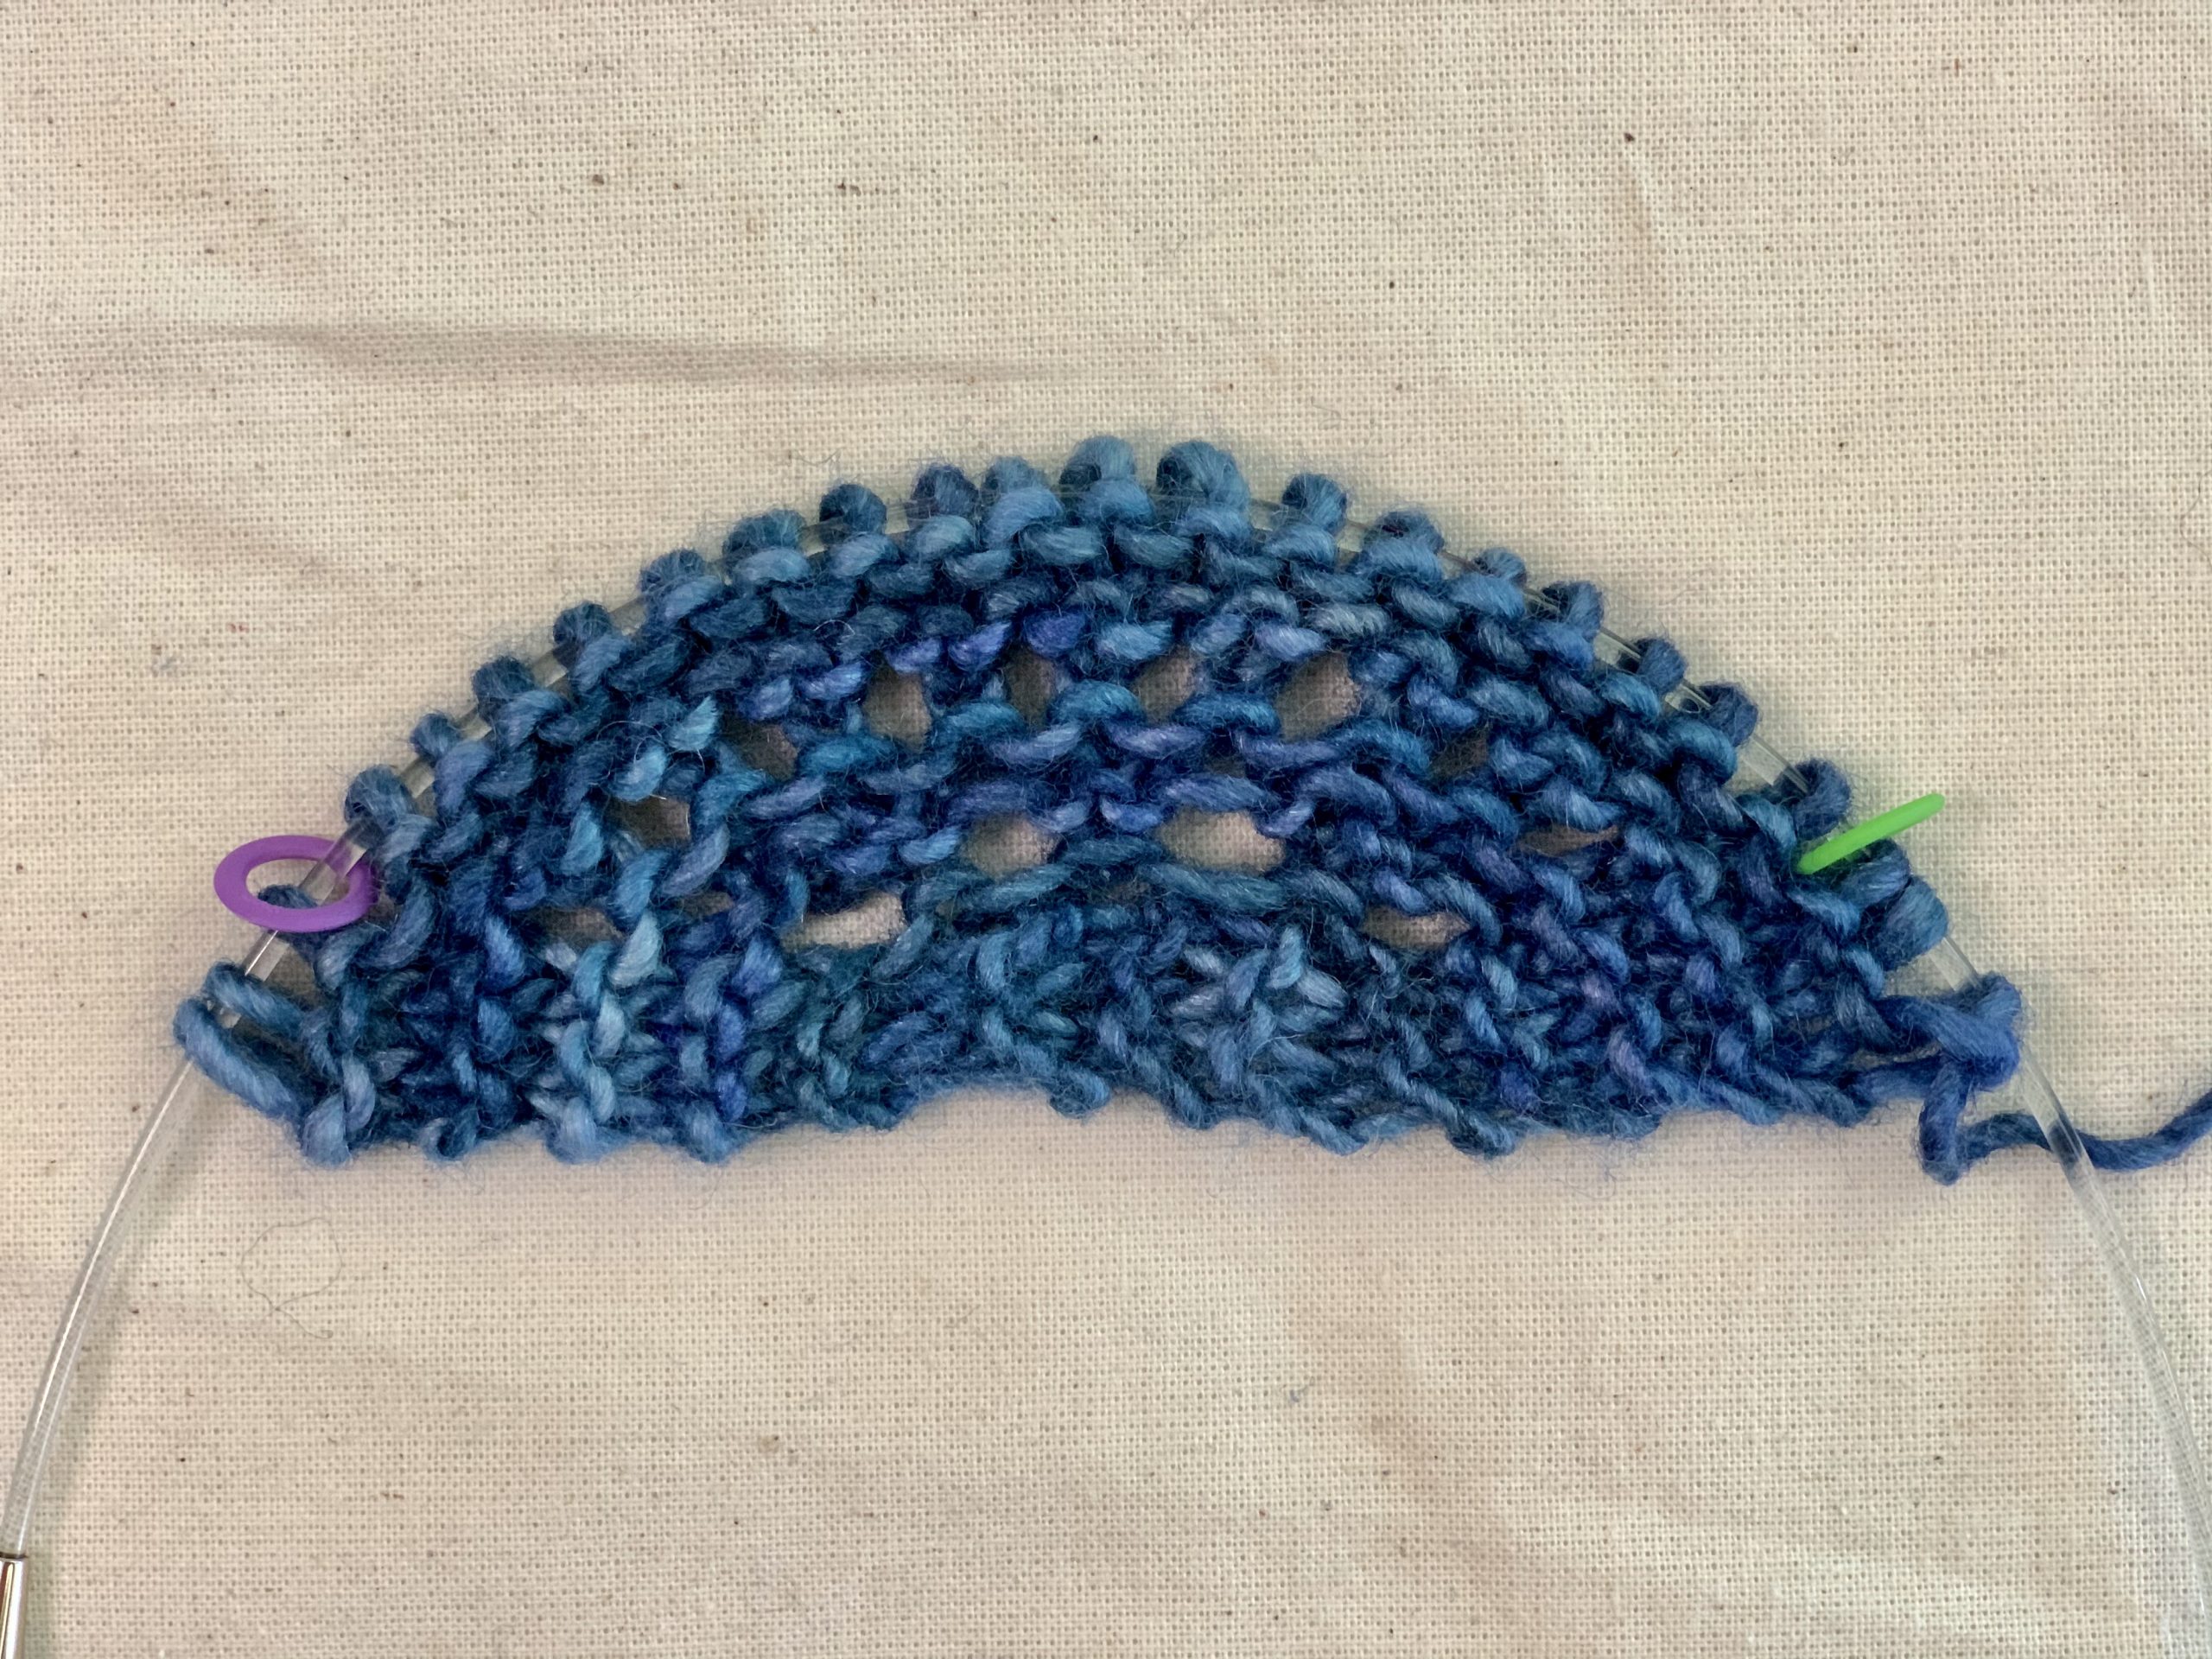
You can see that we’re beginning to get a curve after that last increase row.
Rows 8 – 14: Knit all stitches. (6 +1 rows worked, the extra row is so our increases can be on RS rows)
Row 15: K3, sm, *yo, k1; rep from * to marker, sm, k3. 42 sts total; 36 stitches in center body, plus 3 sts at the beginning and end of each row for garter stitch edging
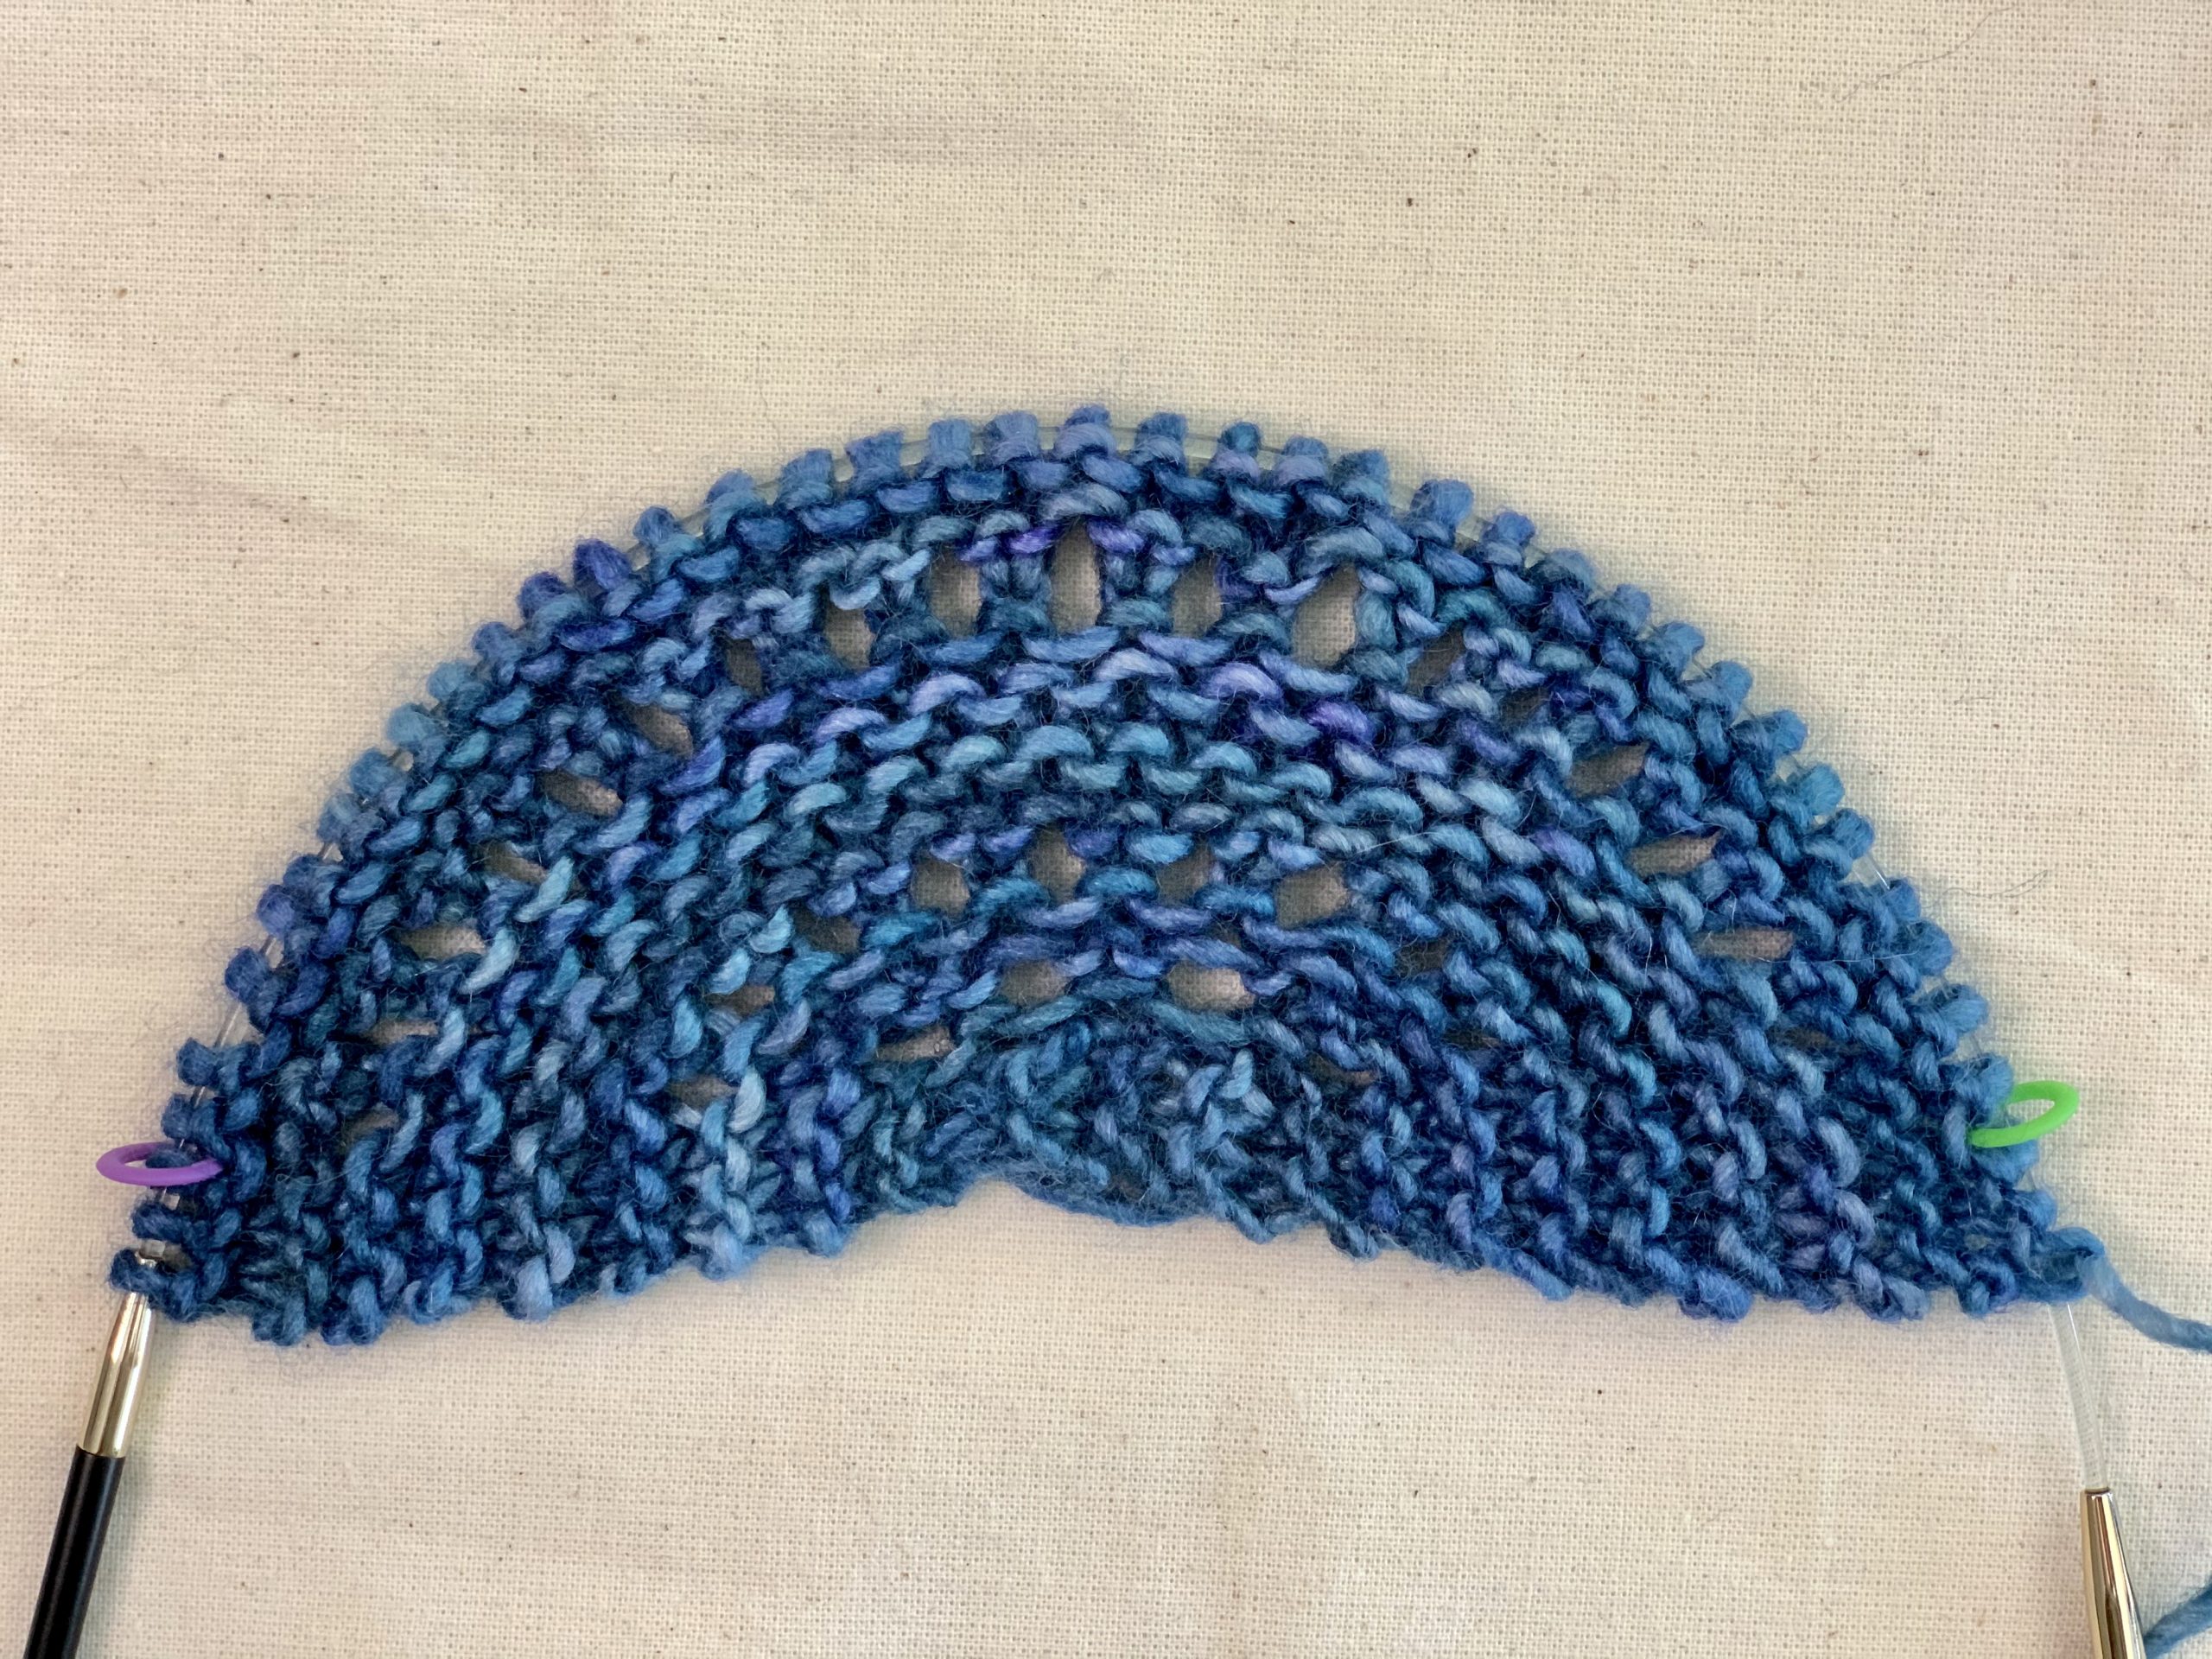
Step 3: Add Even More Curve
Rows 16 – 28: Knit all stitches. (12 + 1 rows worked)
Row 29: K3, sm, *k1, yo; rep from * to marker, sm, k3. 78 sts total; 72 stitches in center body, plus 3 sts at the beginning and end of each row for garter stitch edging
Row 30 – 54: Knit all stitches. (24 + 1 rows worked)
Row 55: K3, sm, *yo, k1; rep from * to marker, sm, k3. 150 sts total; 144 stitches in center body, plus 3 sts at the beginning and end of each row for garter stitch edging
Rows 56 – 104: Knit all stitches. (48 + 1 rows worked)
Row 105: K3, sm, *k1, yo; rep from * to marker, sm, k3. 294 sts total; 288 stitches in center body, plus 3 sts at the beginning and end of each row for garter stitch edging 288 sts.
Step 4: Carry on!
You can end any time after this, or you can work 97 rows and increase again. It doesn’t have to be precise; you can fudge a few rows in either direction if you’re in the middle of a pattern repeat and need to finish your rows.
Finish your shawl with a pretty edging; your choices are limitless!
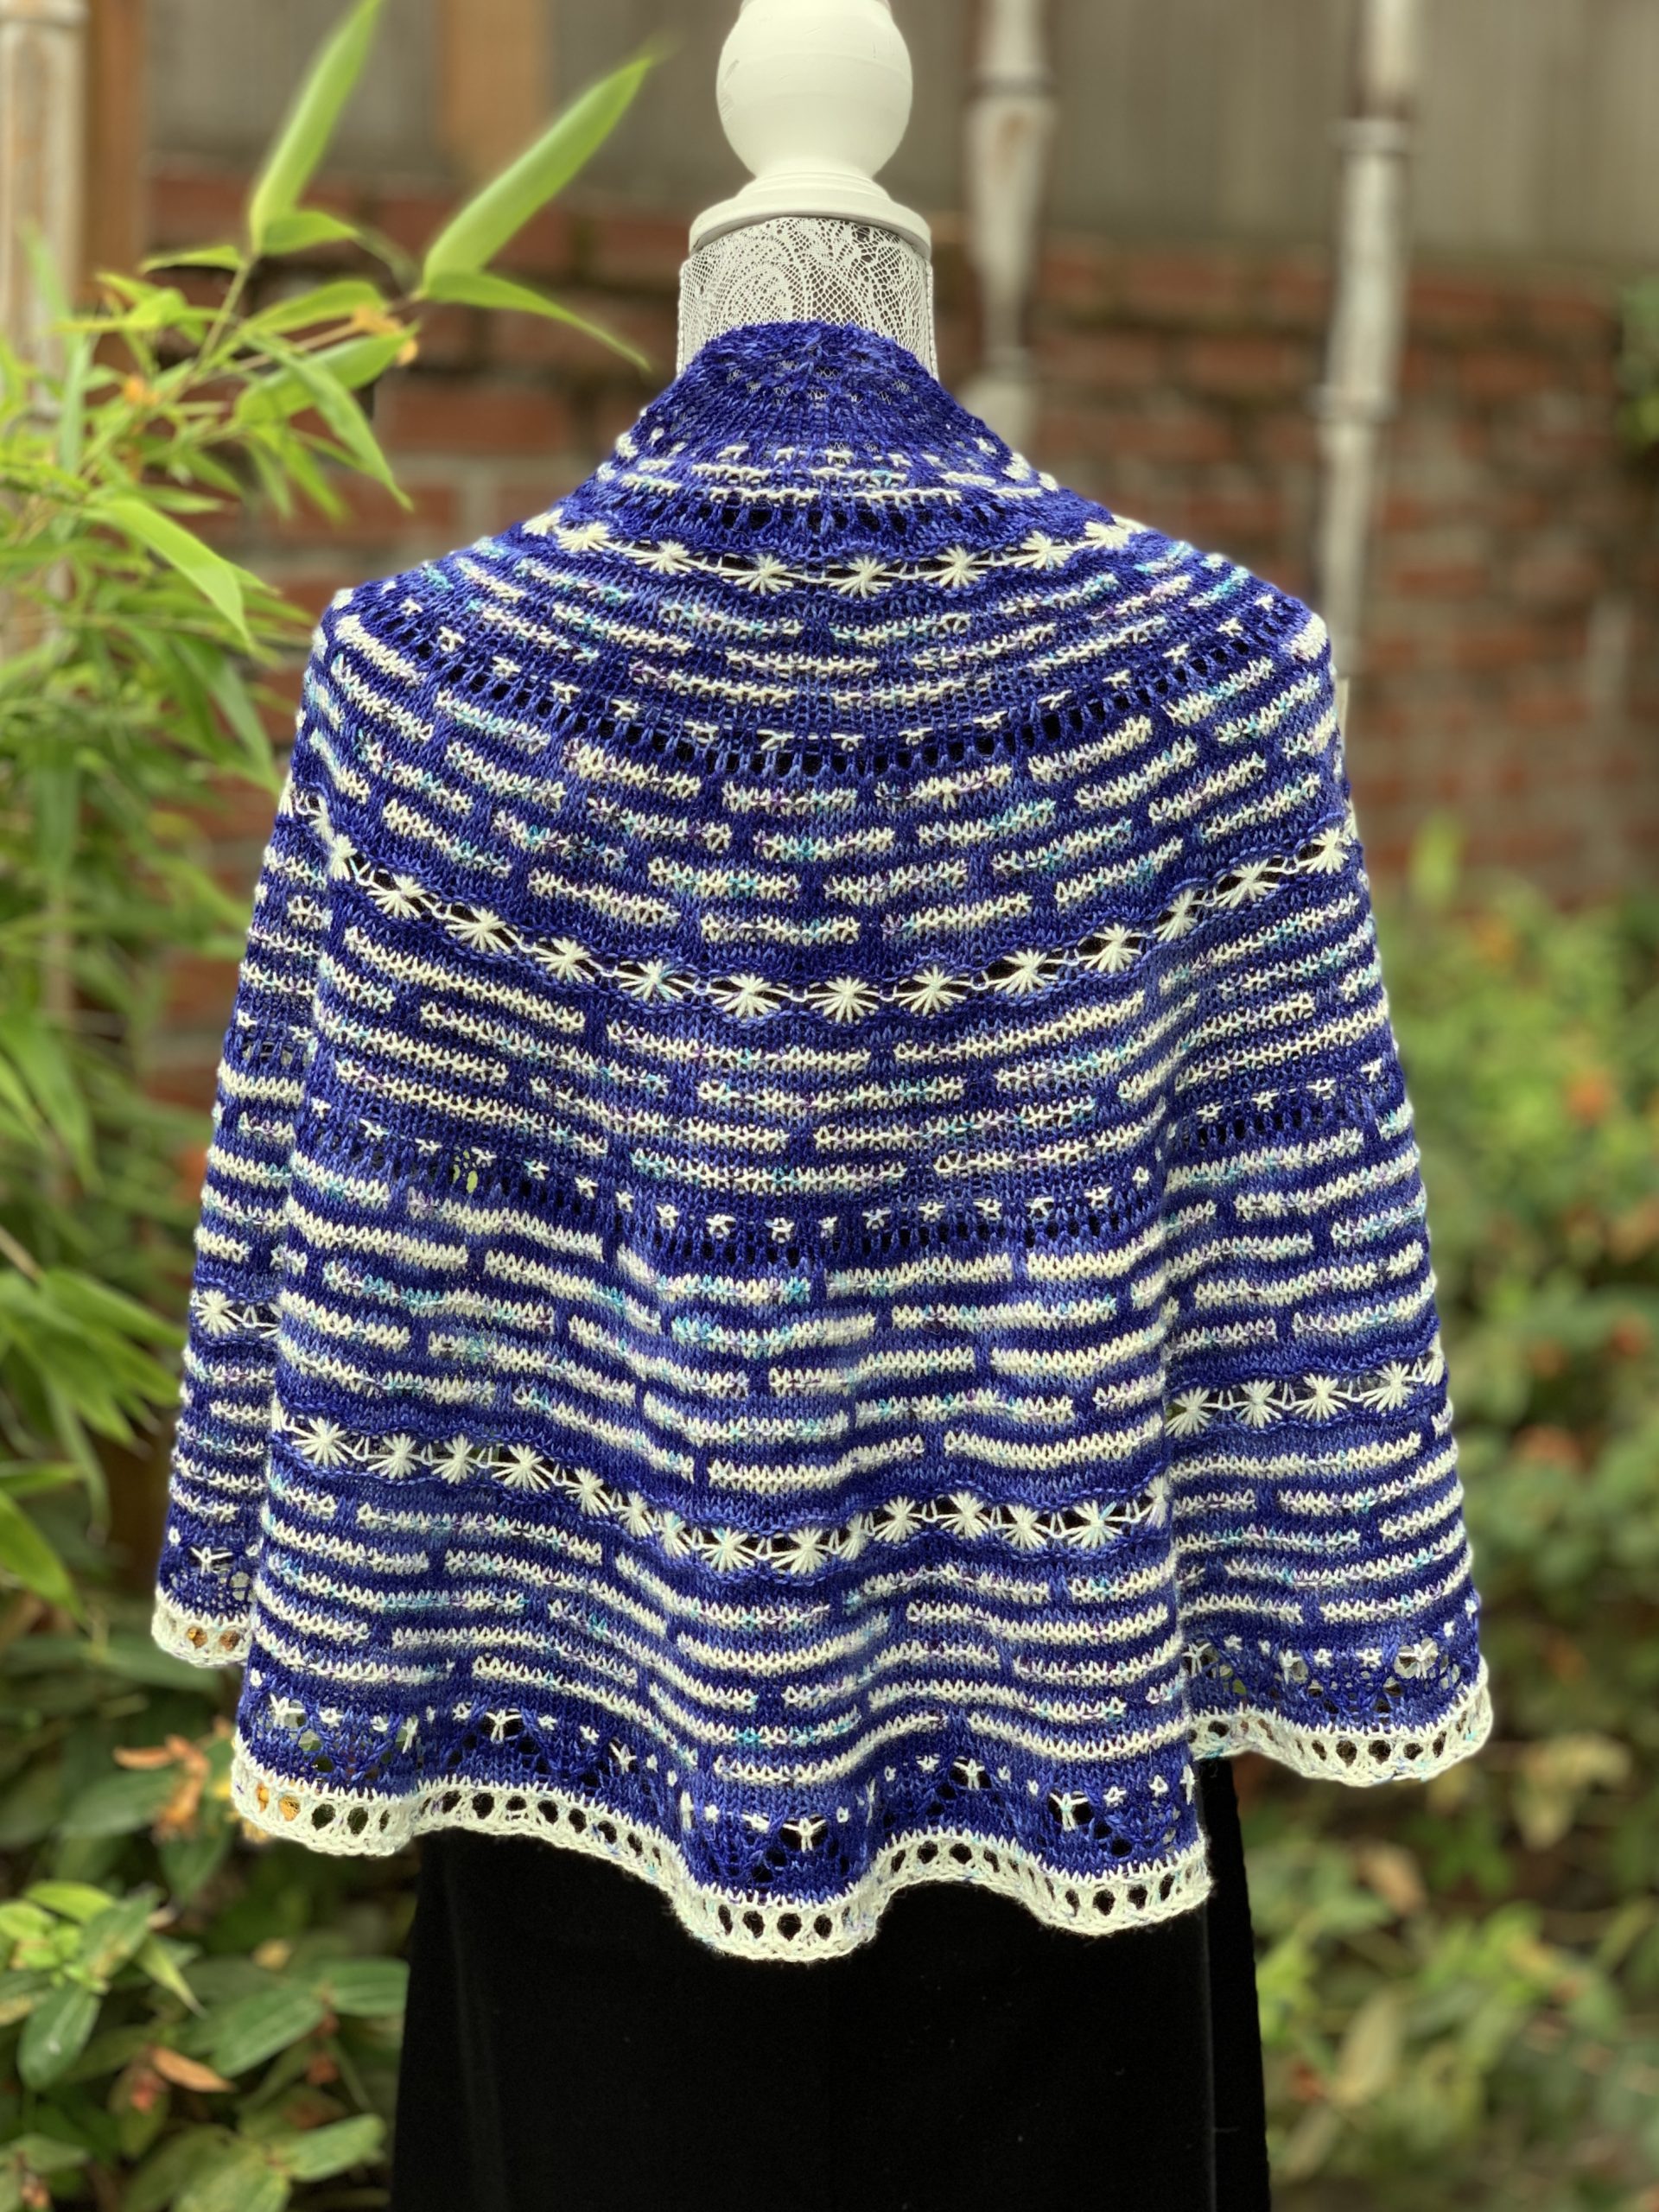
Related Videos: How to Work the Garter Tab Cast On, Half Pi Shawl Math Basics, Knit a Garter Stitch Half Pi Shawl


Very nice shawl.
love to knit
Like the look of the shawl
Can't wait to try it. It looked really interesting
Beautiful design and color technique.
Comentario de agradecimiento por compartir para nosotros los principiantes en este arte. Gracias
I love that you put the pattern as the star of your post. Thanks for not making it so difficult to locate your pattern! This is my first pi shawl. I'm making it now with alpaca chunky yarn and it is a delight!!! Thank you also for making this so simple to create!
Thanks for the shawl pattern
I don’t have a website.
No website