Ribbing patterns are abundant in knitting. There are so many things that you can do with simple knit and purl stitches to create a ribbing pattern. One of my favorite stitch patterns in this category is garter ribbing. While it doesn’t provide the same stretch as a traditional ribbed pattern, it does provide a nice decorative edge to most projects. I’ve even used this as the ribbing pattern on the neckline and cuffs of a sweater.
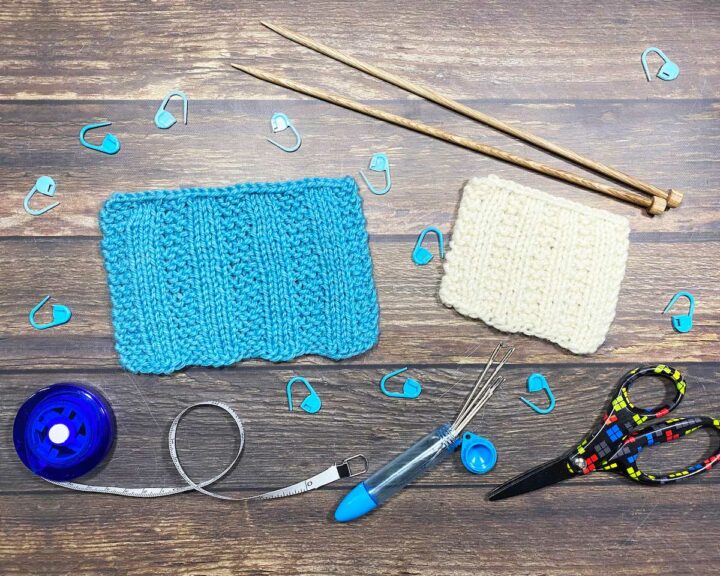
For garter ribbing, you are working garter stitch (knit on both Right and Wrong Sides) in between columns of Stockinette stitch (knit on Right Side/purl on Wrong Side). Because of that change, you have more of a decorative ribbing, rather than a stretchy one that “snaps” back on itself. Not only does the garter stitch make it more decorative, but it also makes the fabric much squishier, which is one of the reasons I love it so much—I’m all about squishy knitted fabric!
LARGE GARTER RIB
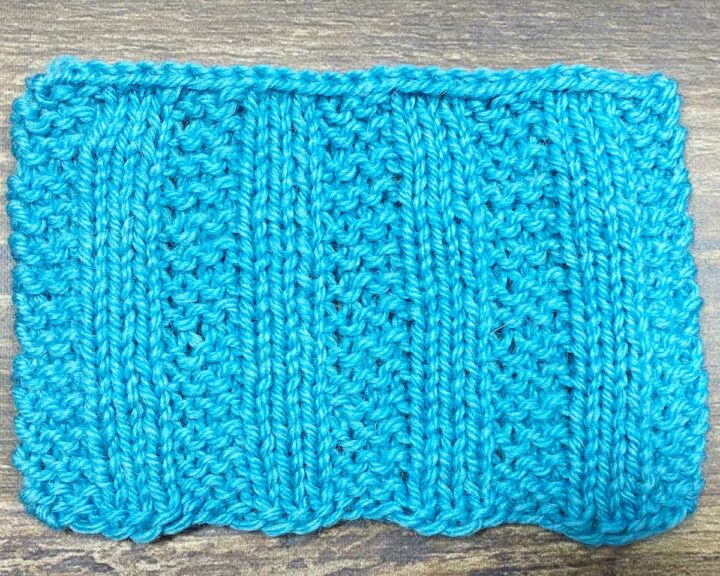
For this larger version of garter ribbing, you’ll want to cast on a multiple of 6 plus 3 stitches. It’s worked back and forth in rows as follows:
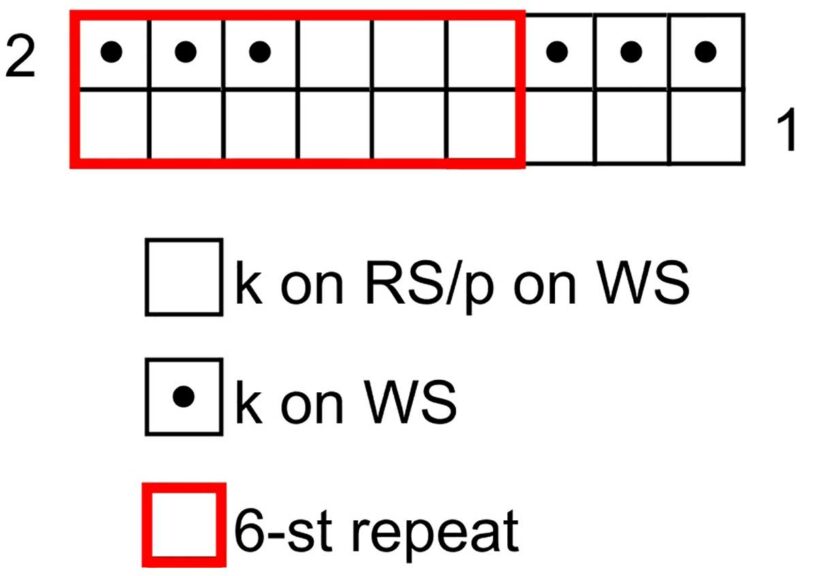
Row 1 (RS): Knit all stitches.
Row 2 (WS): *K3, p3; repeat from * to last 3 stitches, k3.
Repeat Rows 1 & 2 for pattern.
SMALL GARTER RIB
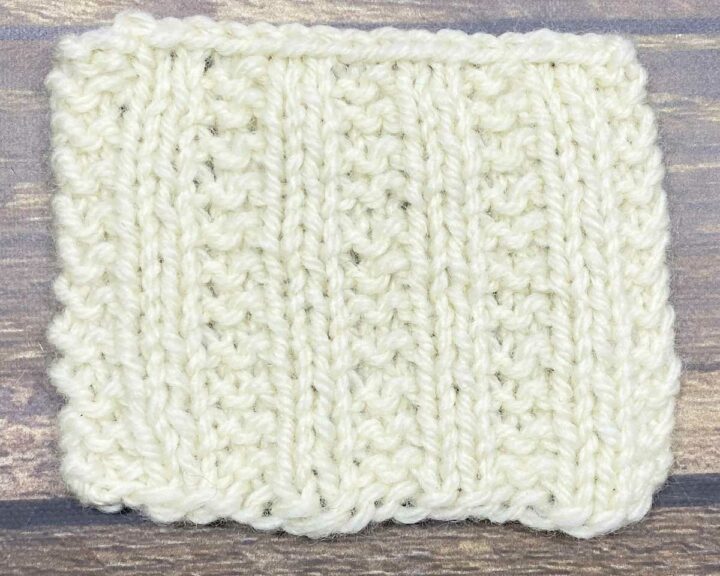
For the smaller version, you’ll cast on a multiple of 4 plus 2 stitches. It’s worked back and forth in rows as follows:
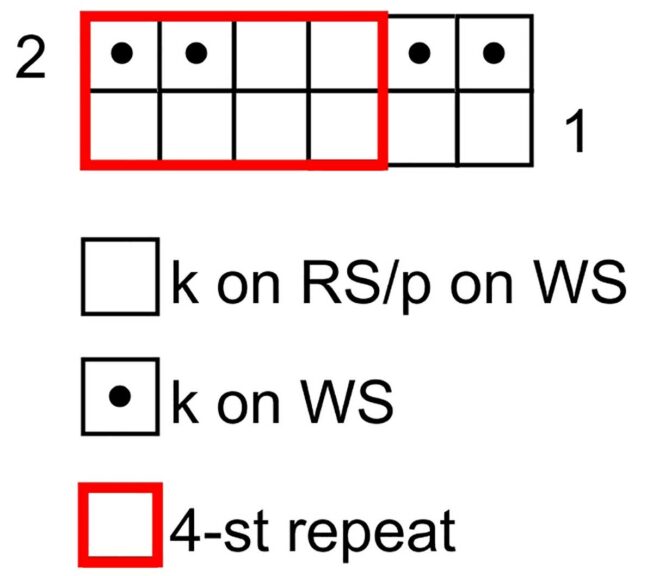
Row 1 (RS): Knit all sts.
Row 2 (WS): *K2, p2; repeat from * to last 2 sts, k2.
Repeat Rows 1 & 2 for pattern.
Whichever one you choose, it’s sure to add a little extra pizzazz to your next project. Which one do you like best? Let us know in the comments!
Does this work the same way if you're knitting in the round? Thanks.
Does this work the same for if you are knitting in the round?