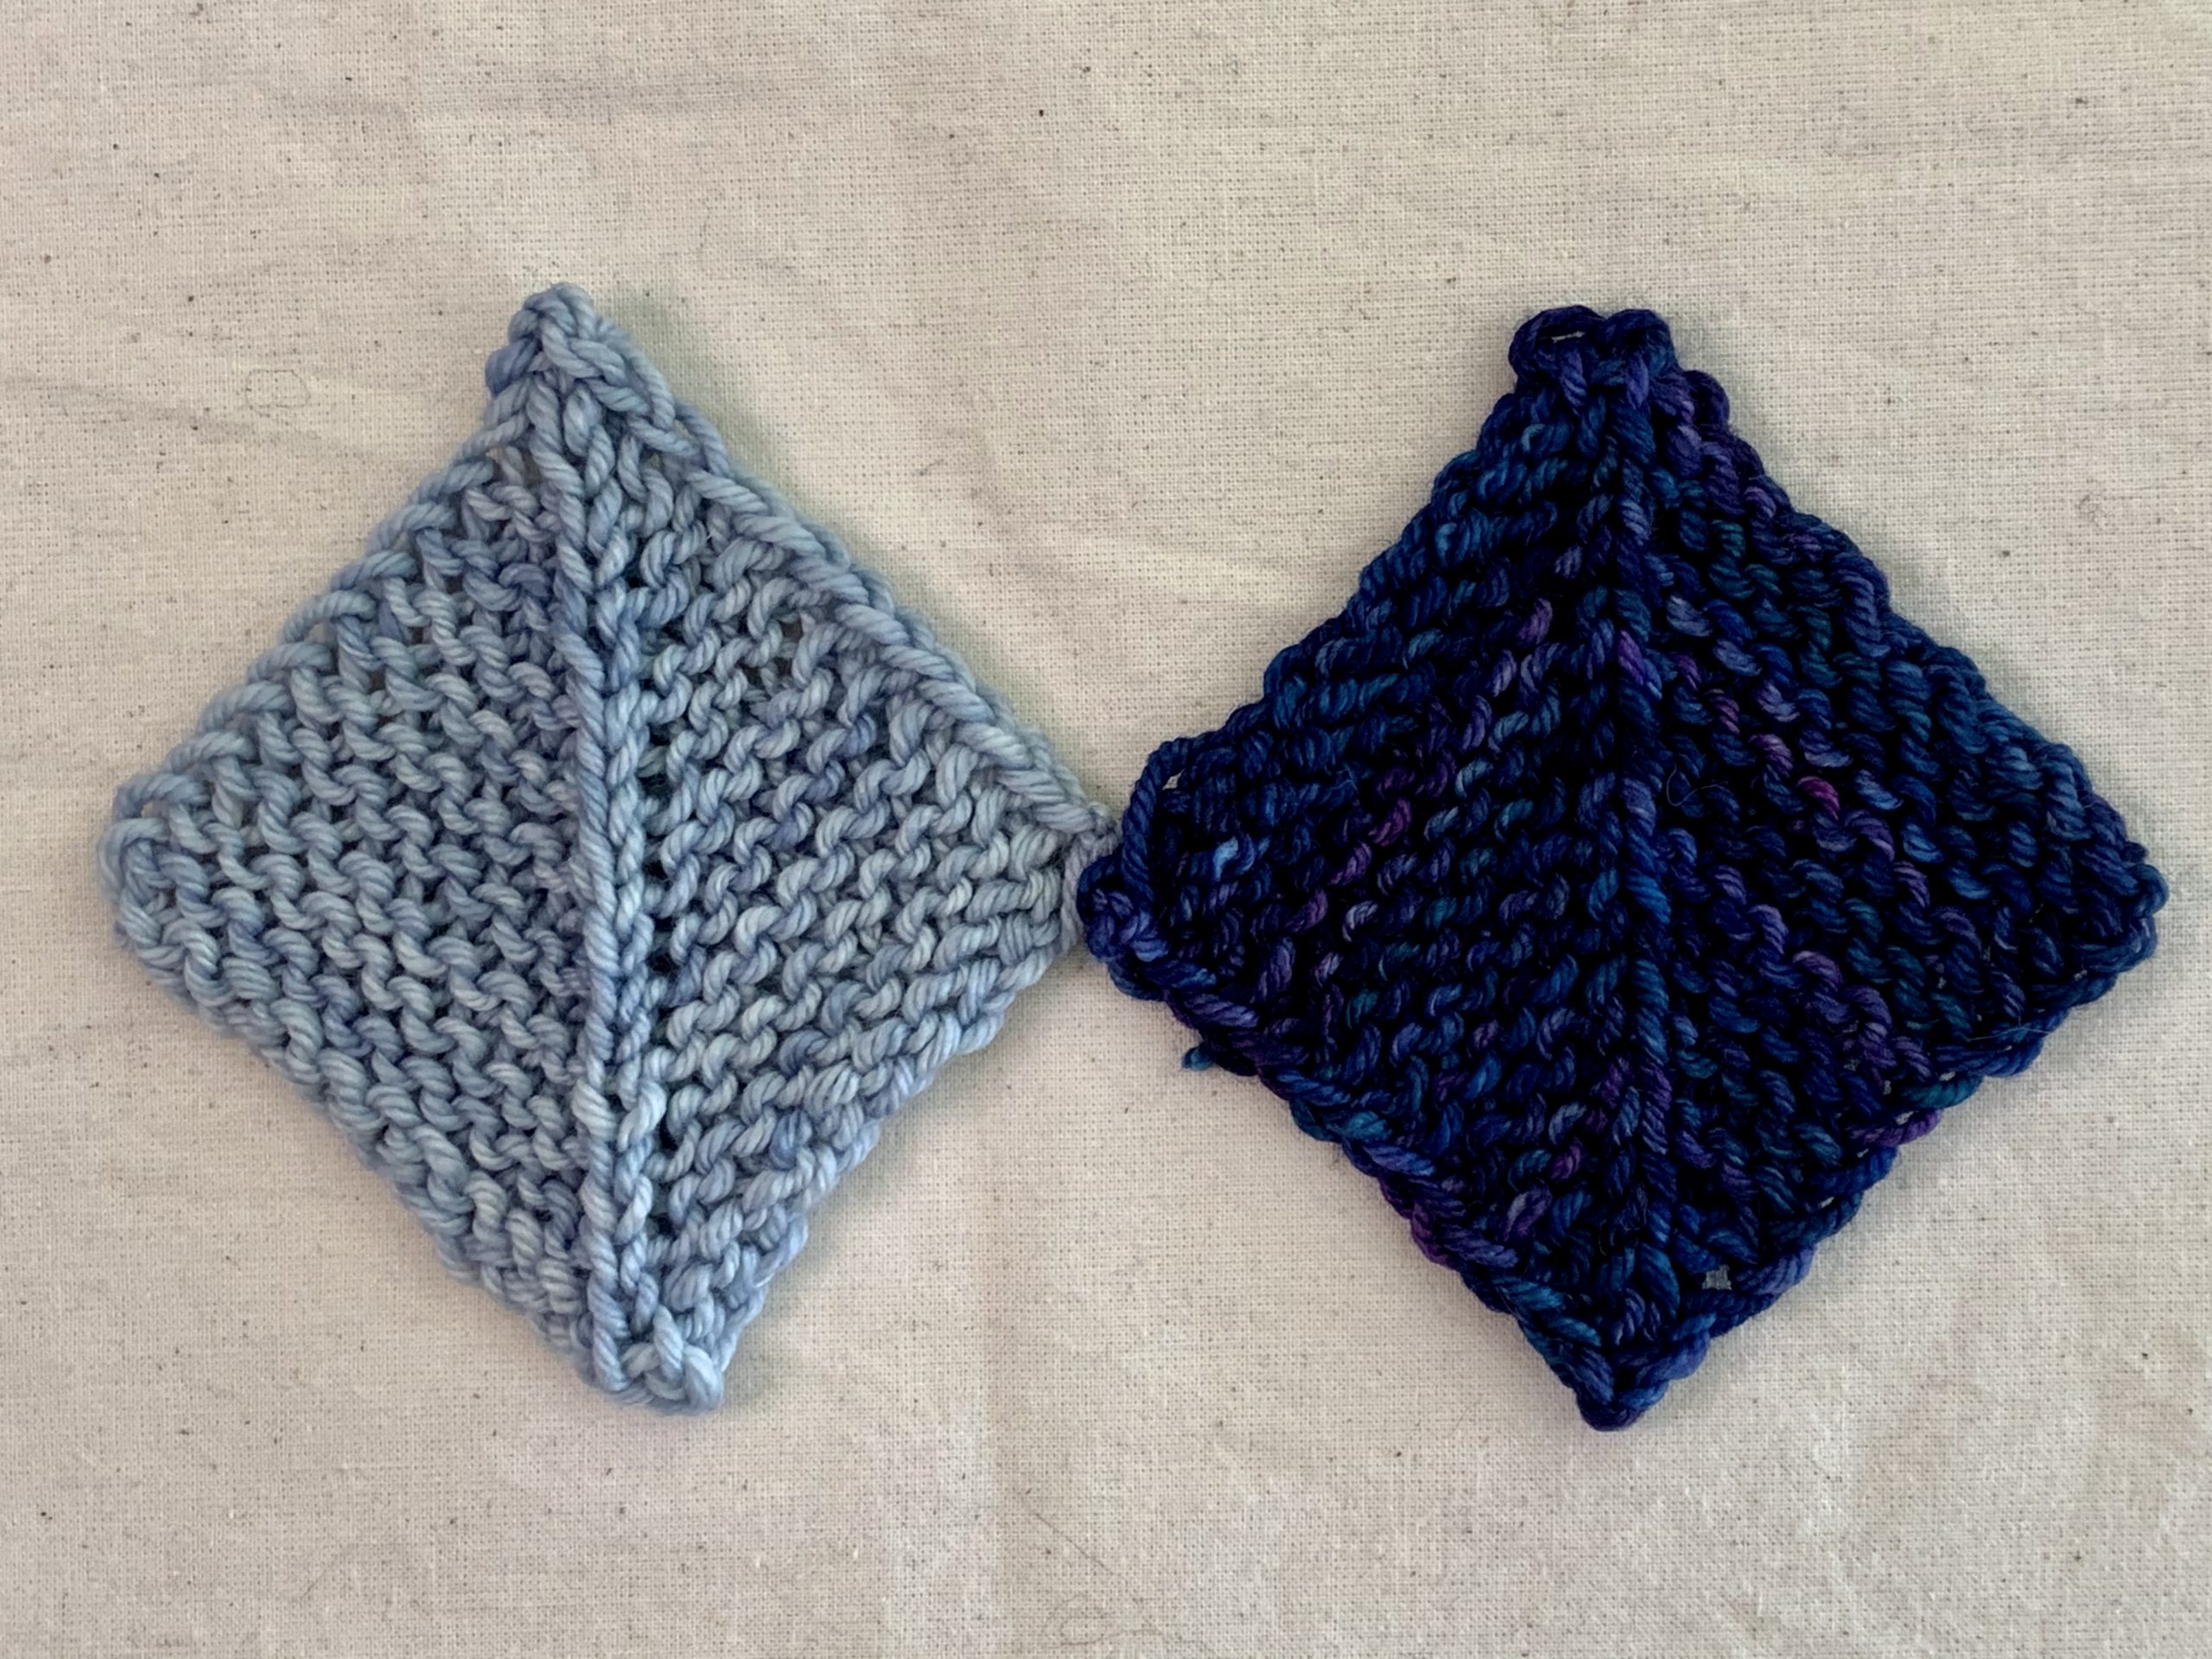
Mitered squares are a great way to use up leftover yarn. They’re quick and easy, too! You can make them from any weight yarn, but you should use the same weight throughout your project.

A mitered square is cast on with enough stitches to cover two edges of the square. You can cast on an even number and use two single decreases (ssk and k2tog) at the center to create the miter. You can also cast on an odd number and use a double decrease at the center to create the miter. This sample will use the double decrease.
Let’s Get Started!
Abbreviations:
- k2tog: knit two stitches together
- ssk: slip a stitch as if to knit to right needle, slip a second stitch as if to knit to right needle, slip both stitches back to left needle and knit together through the back loops
- RS: Right Side
- WS: Wrong Side
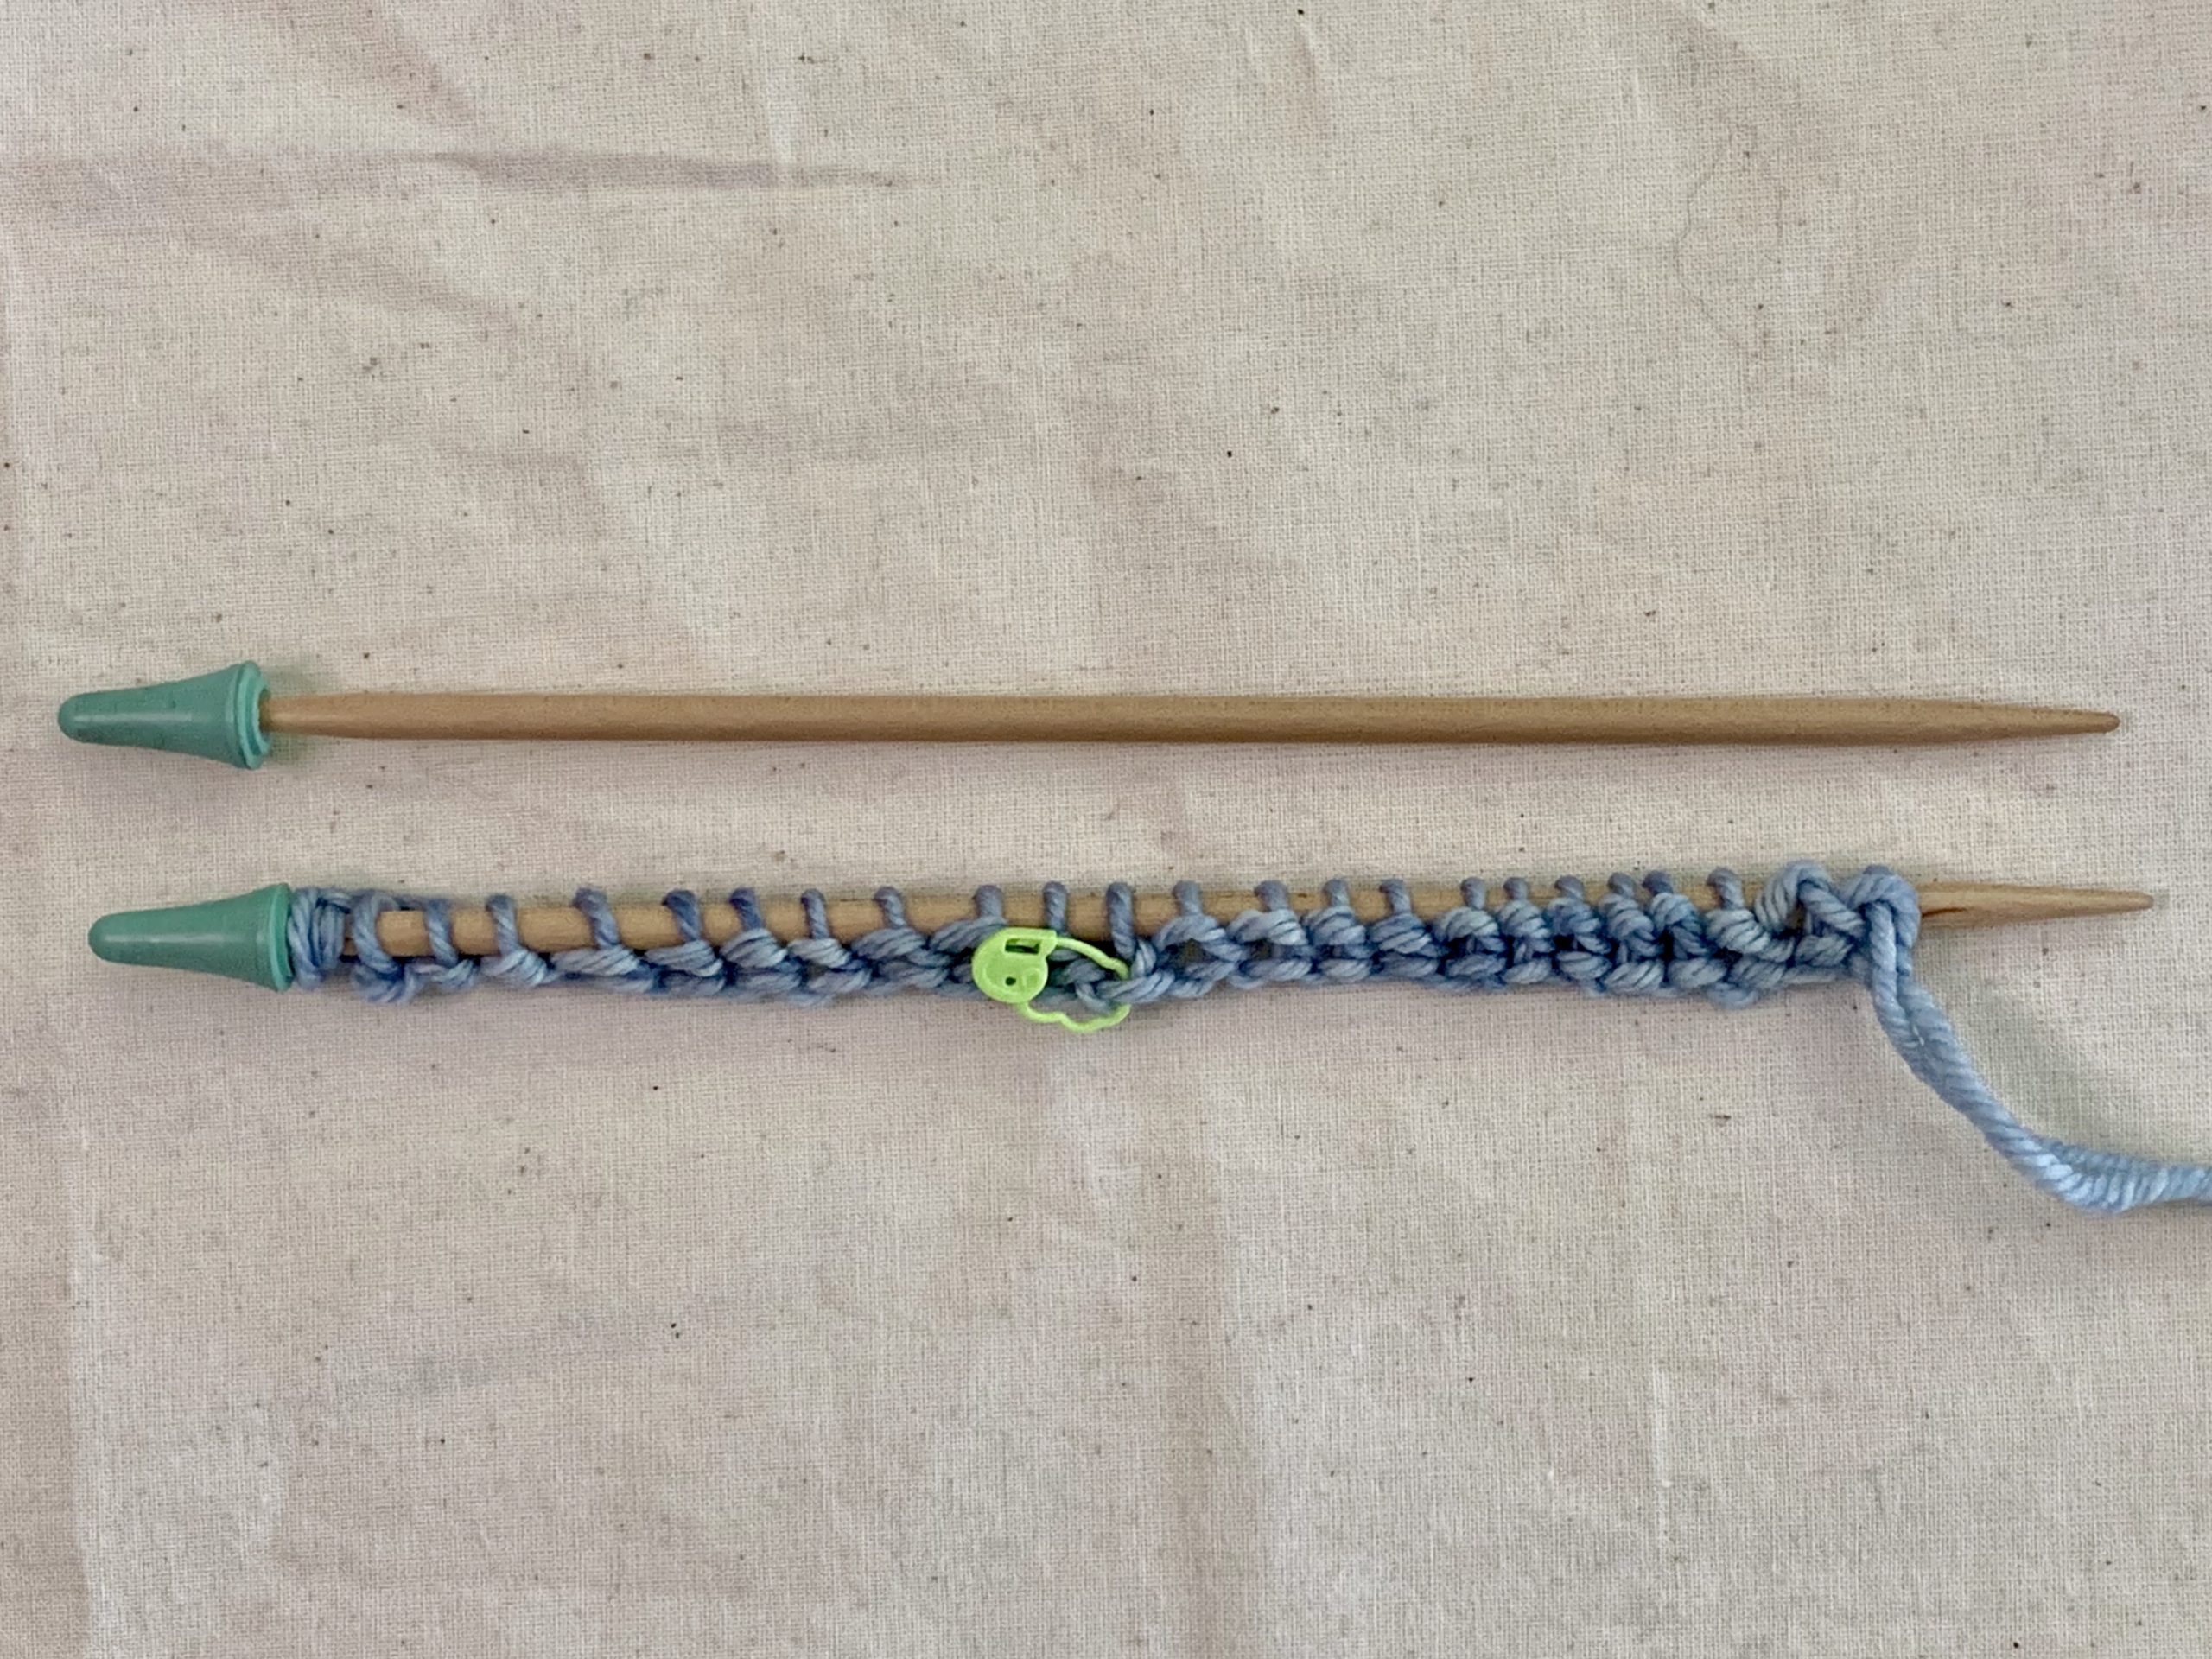
Using the knitted cast on, cast on 25 stitches (or any other odd number). Mark the center stitch with a stitch marker.
Set-Up Row (WS): Slip first stitch purlwise with yarn in front, knit to center stitch, purl center stitch, knit to end of row.

Row 1 and All RS Rows:
Slip 1 purlwise with yarn in front, knit to 1 stitch before the center stitch. Make a centered double decrease (slip 2 stitches together knitwise, knit 1, pass the 2 slipped stitches over and off), then knit to the end of the row.
Row 2 and All WS Rows:
Slip 1 purlwise, knit to the marked center stitch, purl center stitch, knit to the end of the row.

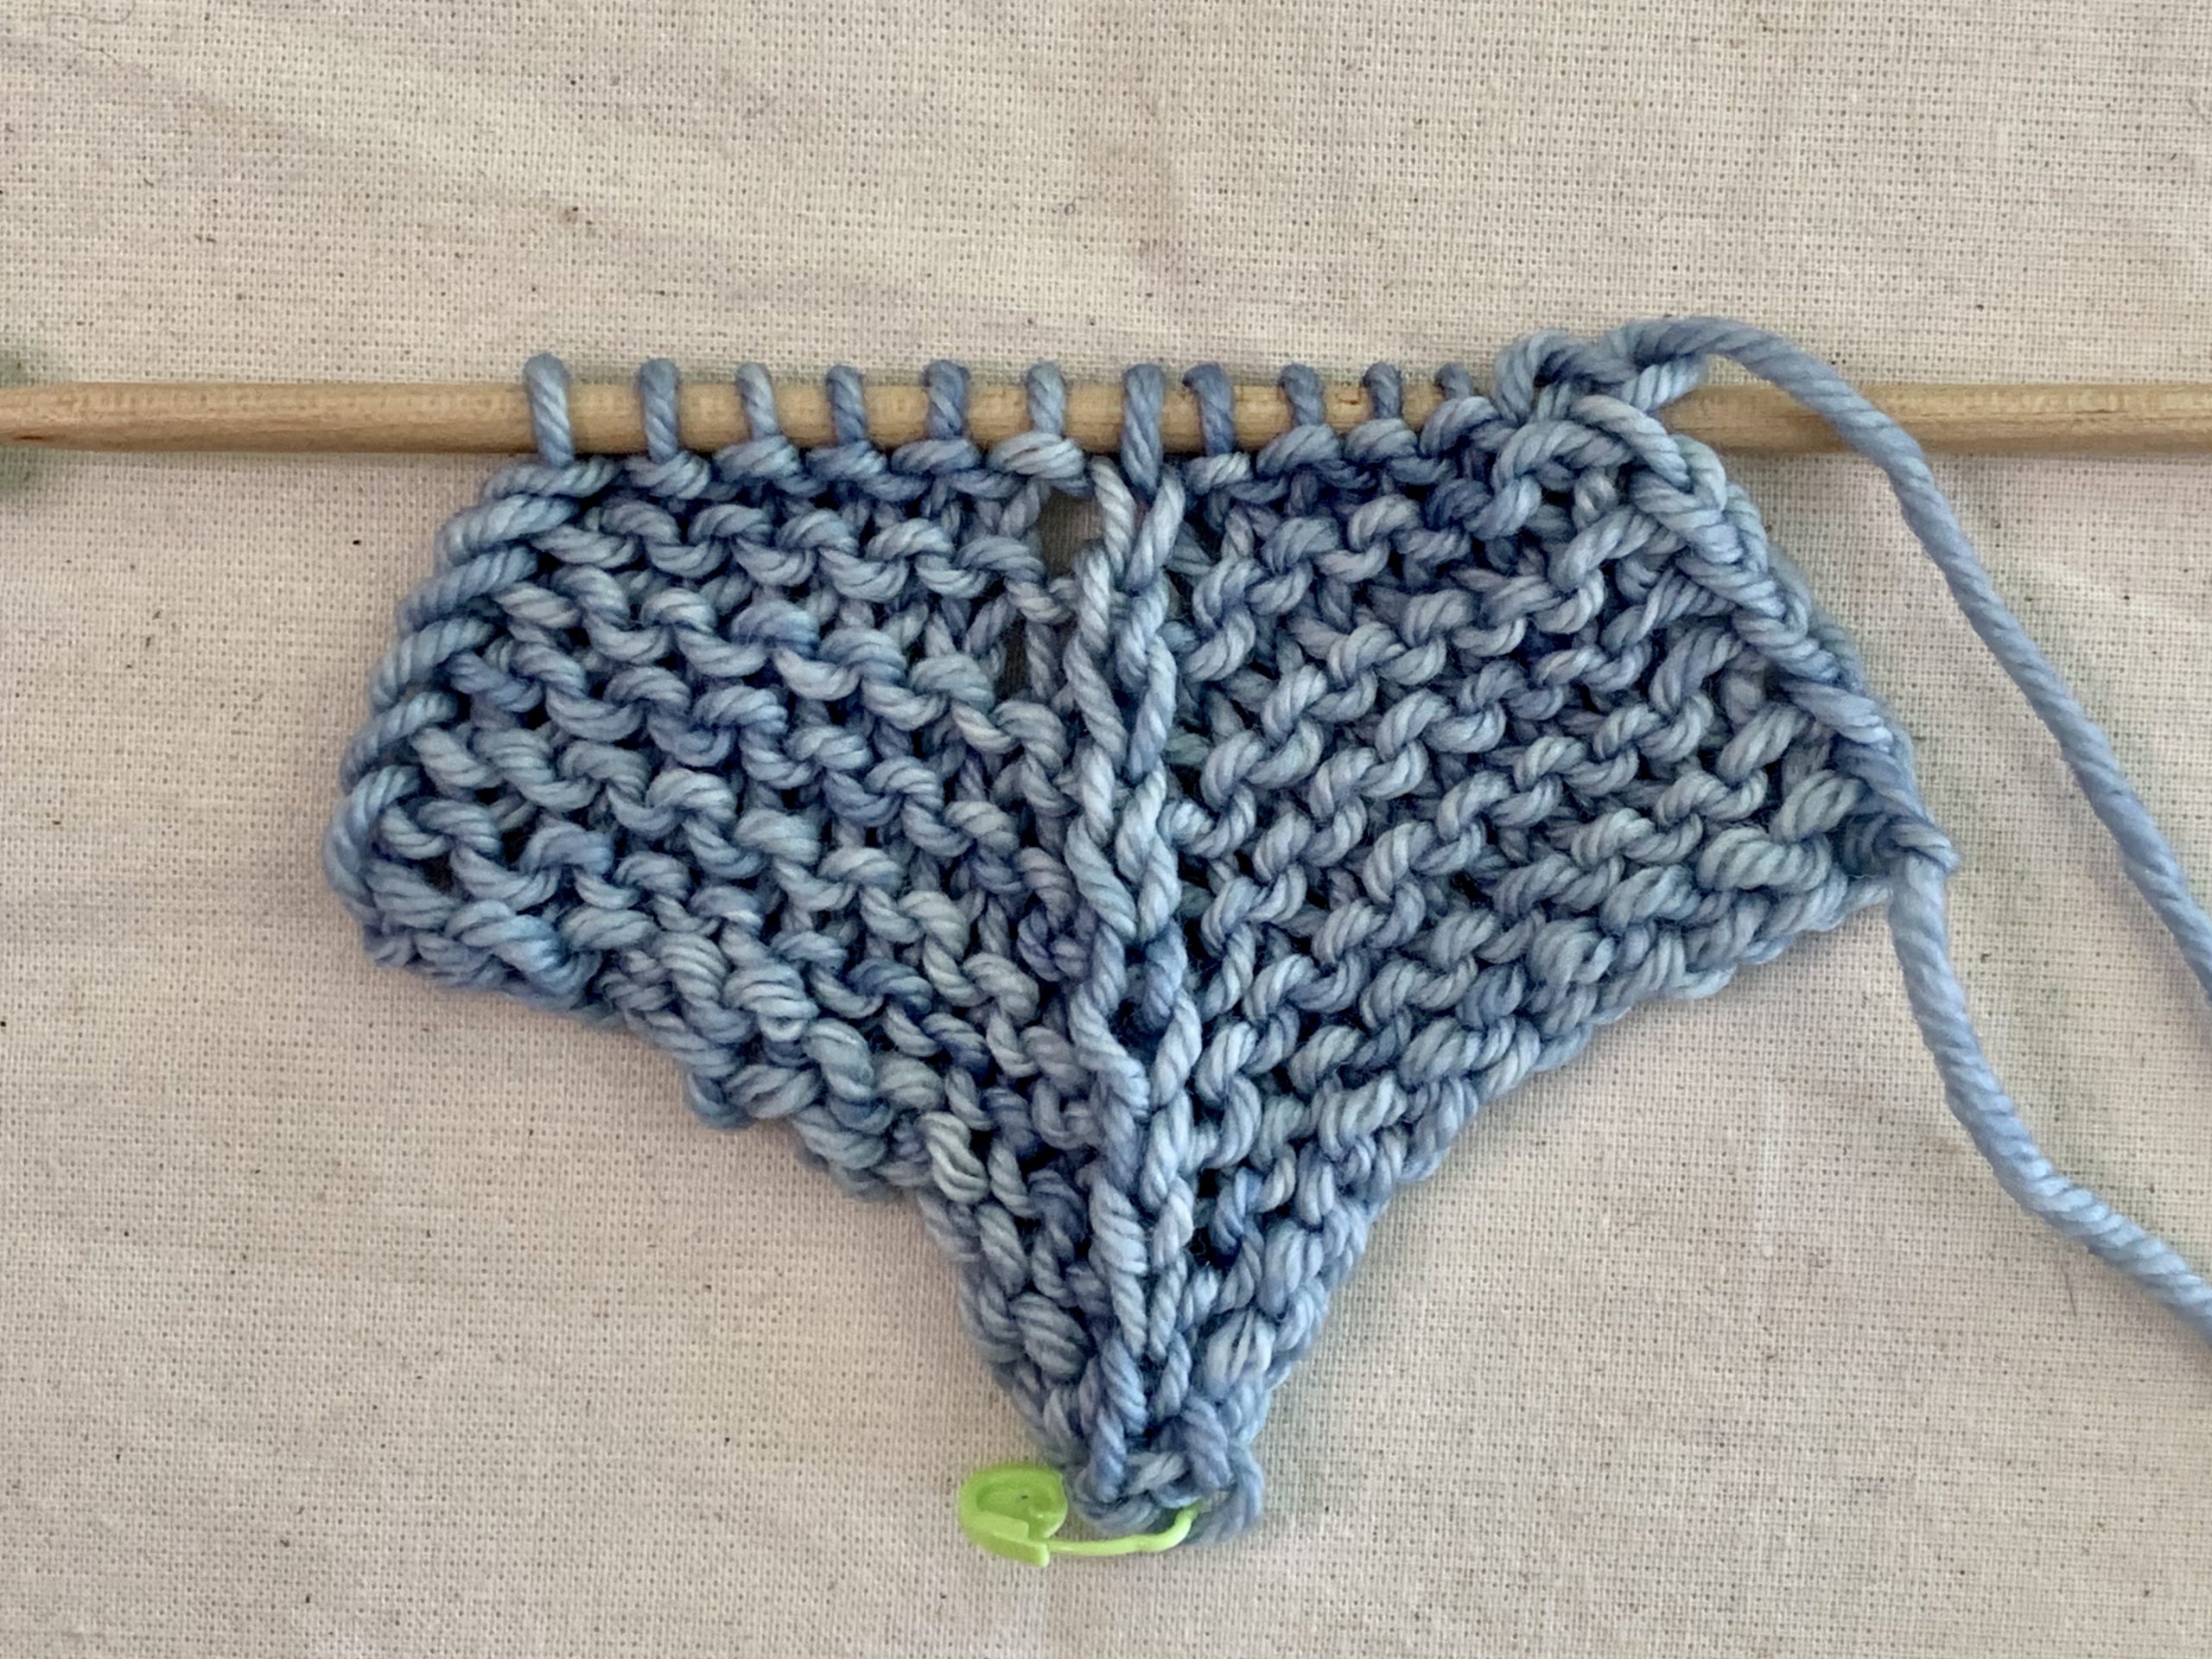
Halfway there! See how the center decreases make the long edge fold up?
Repeat rows 1 & 2 until 3 stitches remain after completing a RS row.
Finishing Your Mitered Square

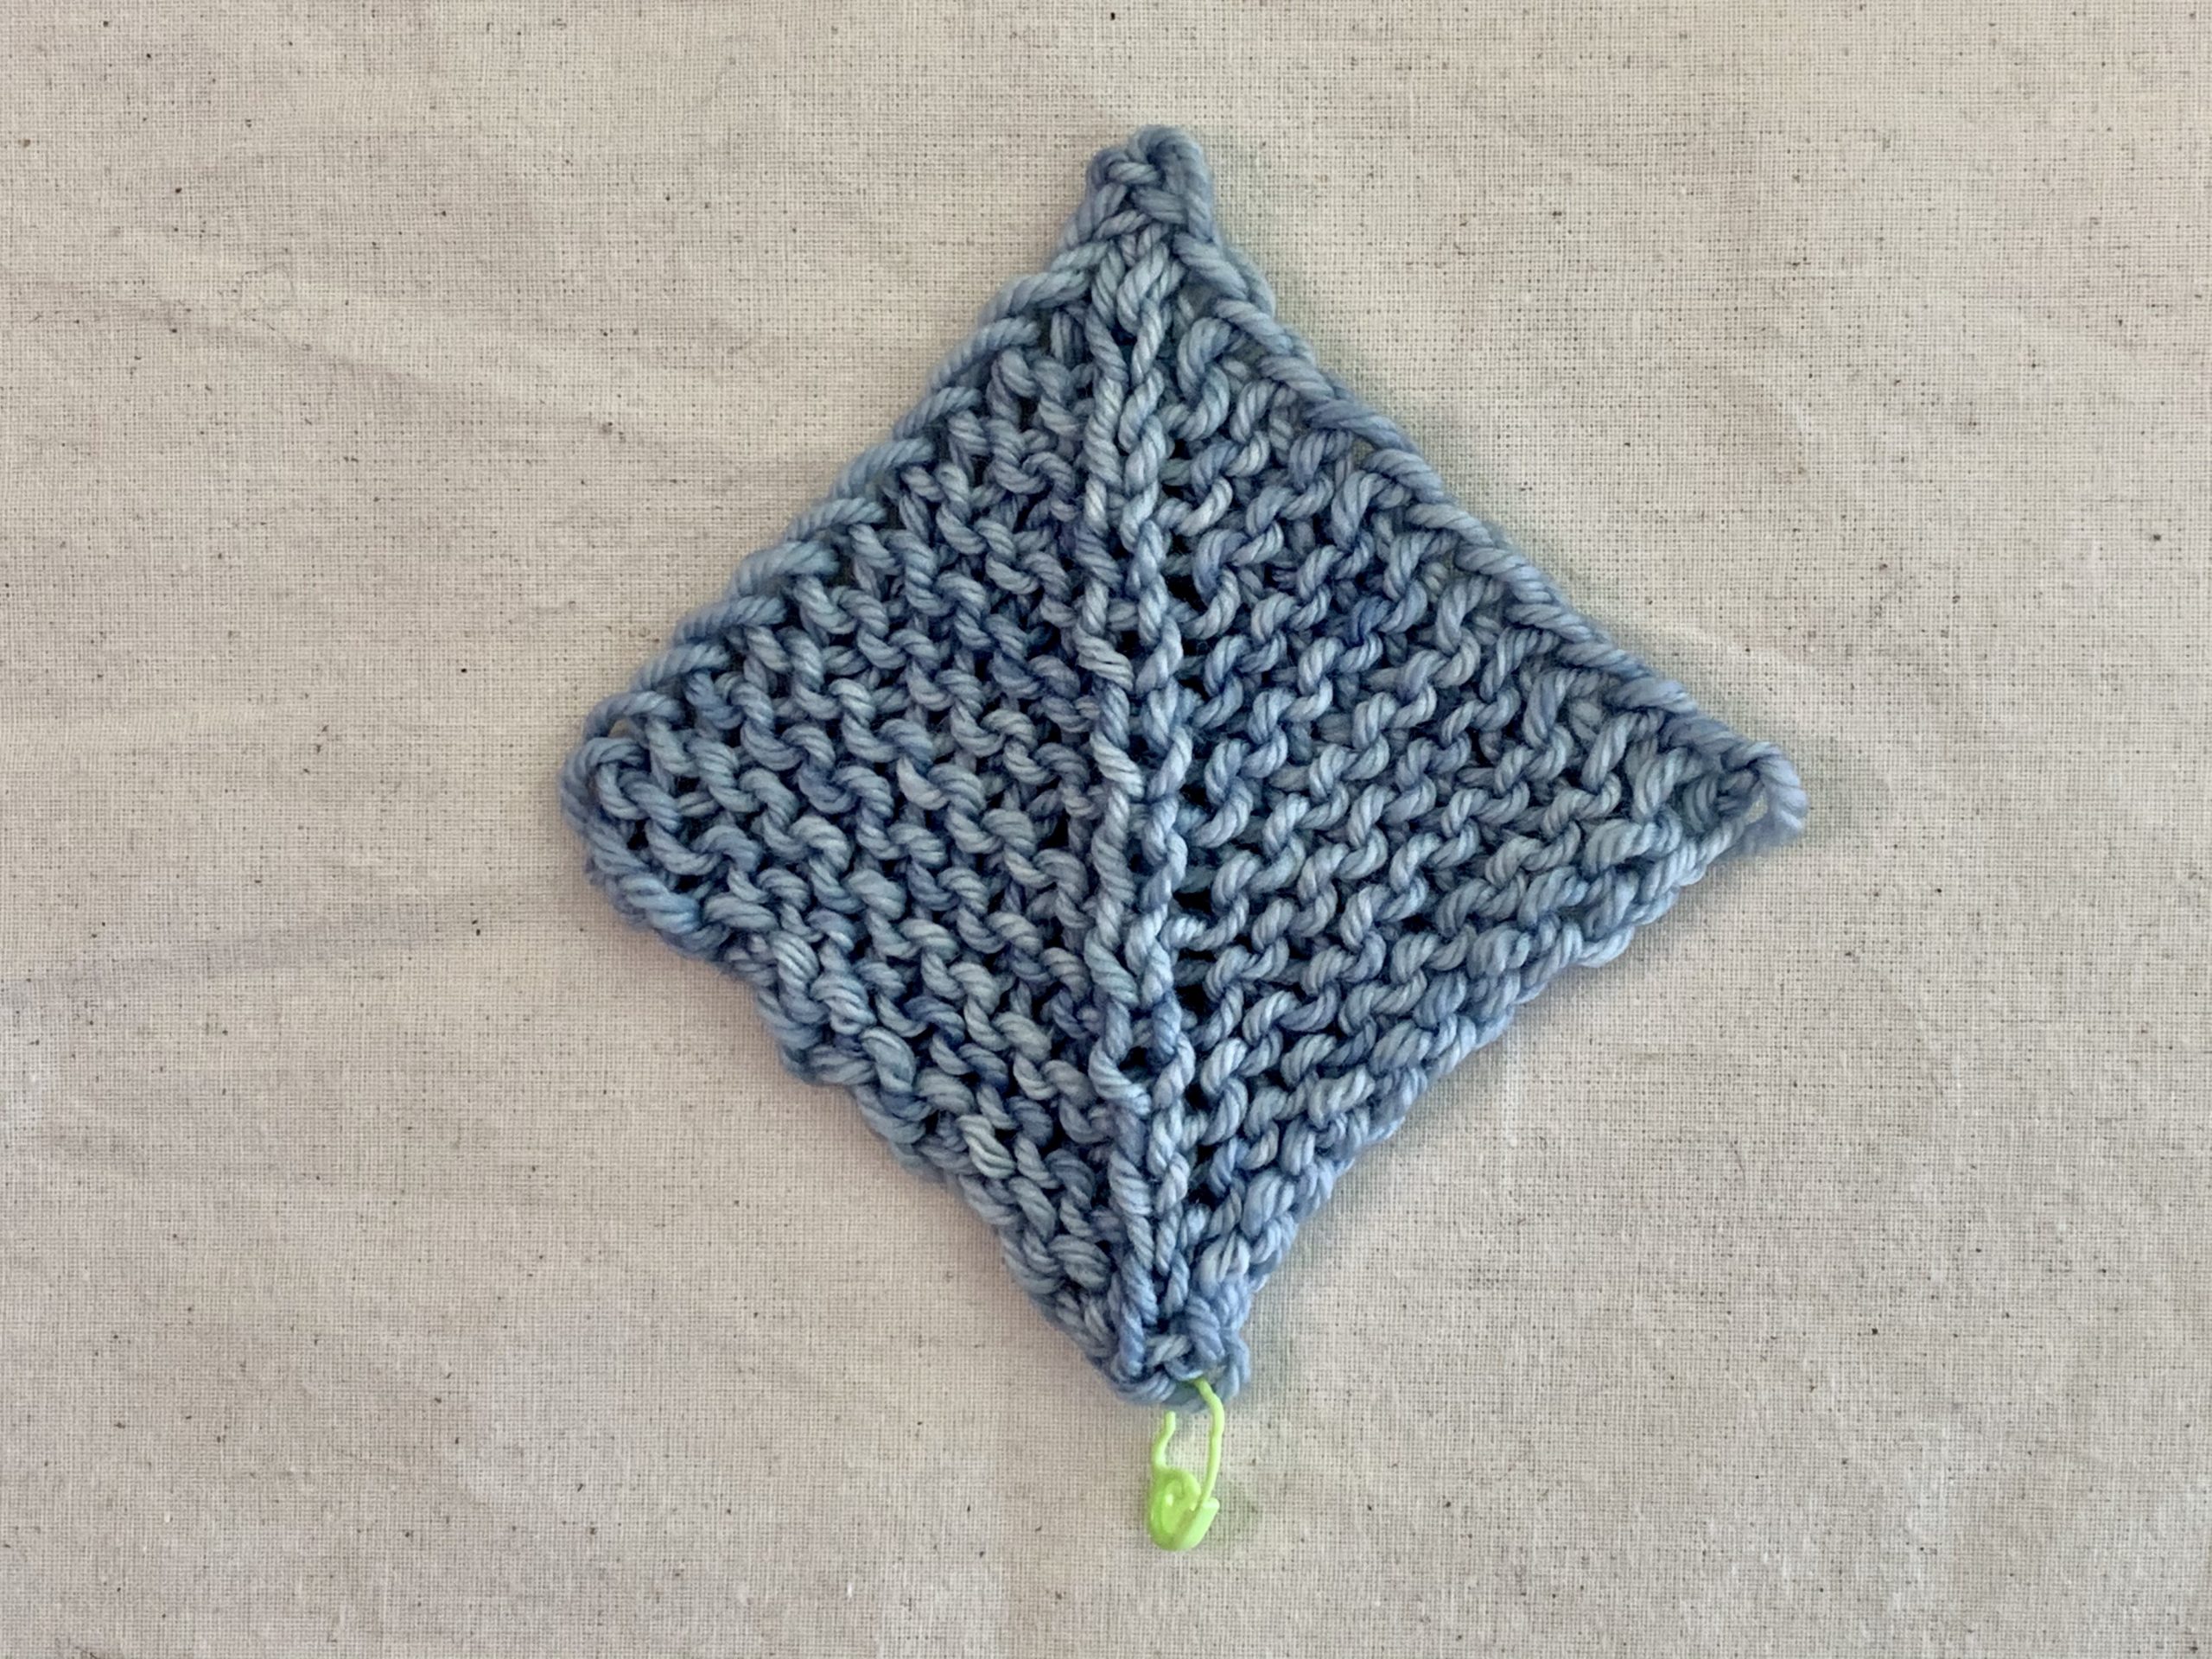
Final Row (WS): Make a centered double decrease, and then pull yarn through. There’s your first mitered square!

Notes on mitered squares:
You don’t have to slip the first stitch of each row; it just makes it easier to pick up and knit stitches when adding more squares on. If you prefer you can just sew all your squares together. In that case, you don’t need to slip the first stitch. Knitter’s choice!
If you’re working with an even number of stitches, on right side rows you’ll work to 2 stitches before the center. SSK, move your marker, K2tog, knit to the end. On the wrong side rows, just knit. Work until you have 2 stitches remaining at the beginning of a wrong side row, K2tog, and pull the yarn through.
These mitered squares are worked in garter stitch because garter stitch is basically square, 2 rows tall = one stitch wide. If you want to knit in stockinette, you’ll need to adjust the rate of decreases.
Related Videos: Knitted Cast On, Working Double Decreases with Knit Stitches, Knitting Mitered Squares


Mitered square pattern
This method is a game changer on the mitered method. Can’t thank you enough
Is there a site to go to if I want to add more squares while knitting? Thank you.
i would like to request lessons on continuously knitting mitered squares by adding one to another.
I would really like to know how to block my pieces properly. Help please - beginner just starting out
I would like to know how to finish off so the edges are straight, if I ever get my sock yarn blankie done.