If you hate seaming and other finishing steps, you're going to love this cast on.
The Turkish cast on can be used any time you don't want to seam. The most popular use is for toe-up socks, but you can use the Turkish cast on for any project when you want a smooth invisible join. If you're knitting a mitten from the tip to the cuff, for example, you can use this cast on.
The cast on works a little like Judy's magic cast-on once you get past wrapping the yarn around the needles. The result is similar, too: a tube with a cast on that you won't even know is there.
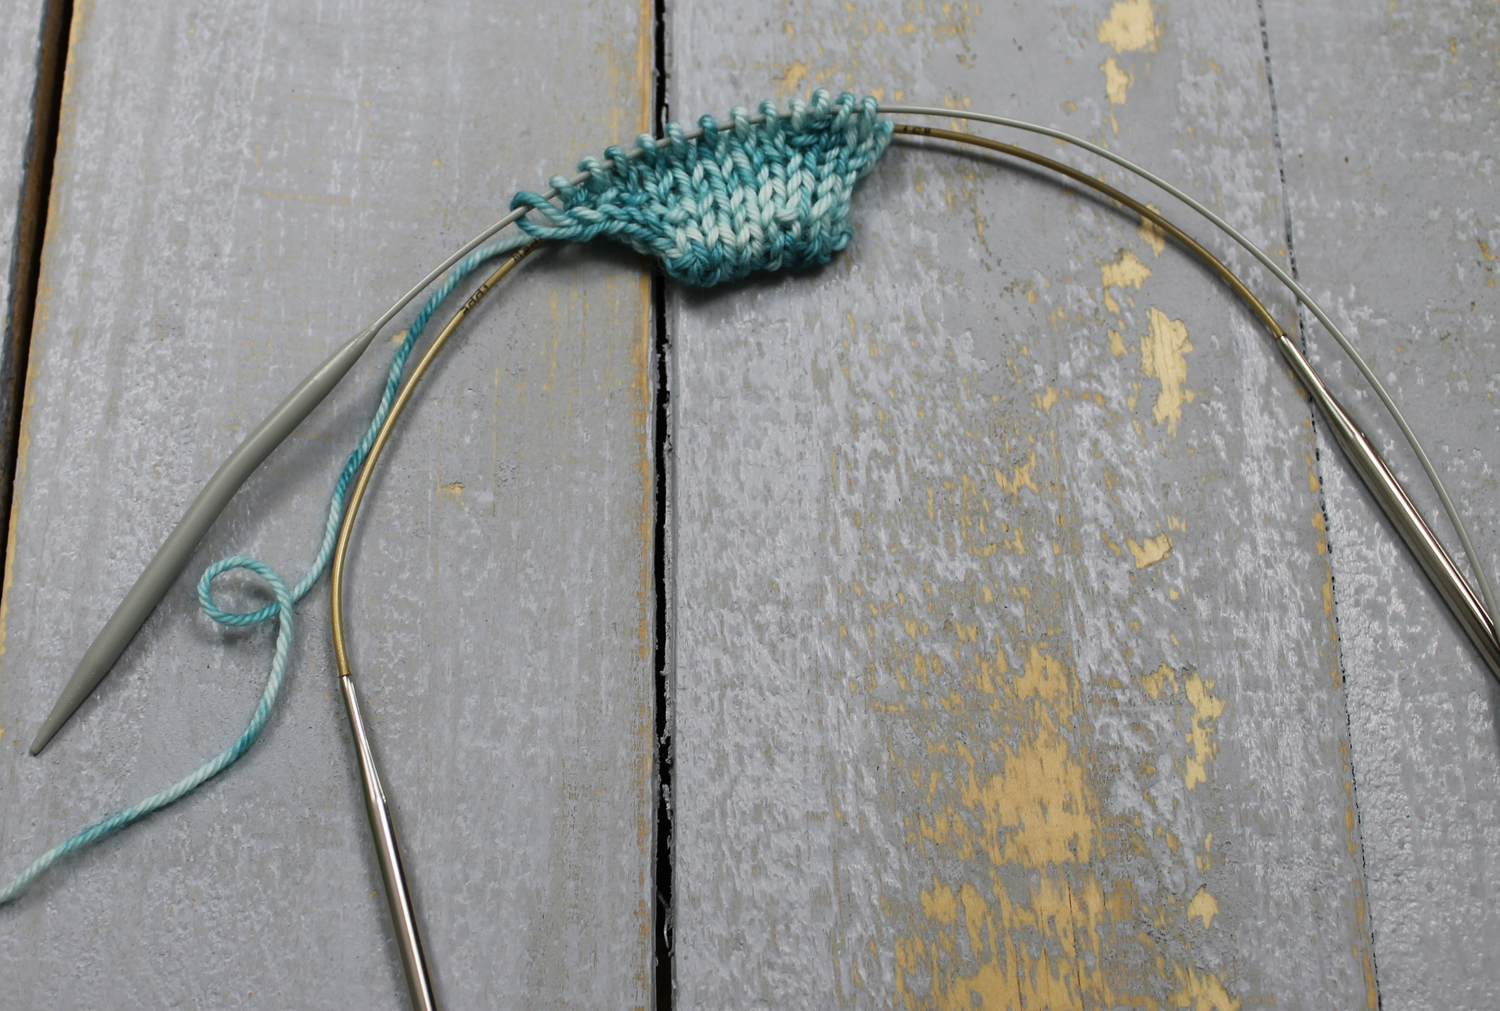
The technique itself is comparable to the circular method of knitting in the round with two circular needles. If you didn't quite catch on to the magic loop fever, you might want to give that technique a try after you learn Turkish cast on.
Once you cast on, there's no need to go back and graft or pull out any provisional stitches. The work is already finished!
Turkish cast on tutorial
What you'll need:
- Yarn
- Two circular needles of the same size, one long circular needle, OR a set of double-pointed needles
Note: The needles you cast on with do not have to be the same as the needles you knit the project with. For example, if you knit socks with double-pointed needles but find that this cast on is easier with circulars, cast on with the circulars and switch to DPNs once you feel comfortable.
If you use magic loop and you already have a long circular, you can just use that circular for the cast on — no extra needle required!
Step 1:
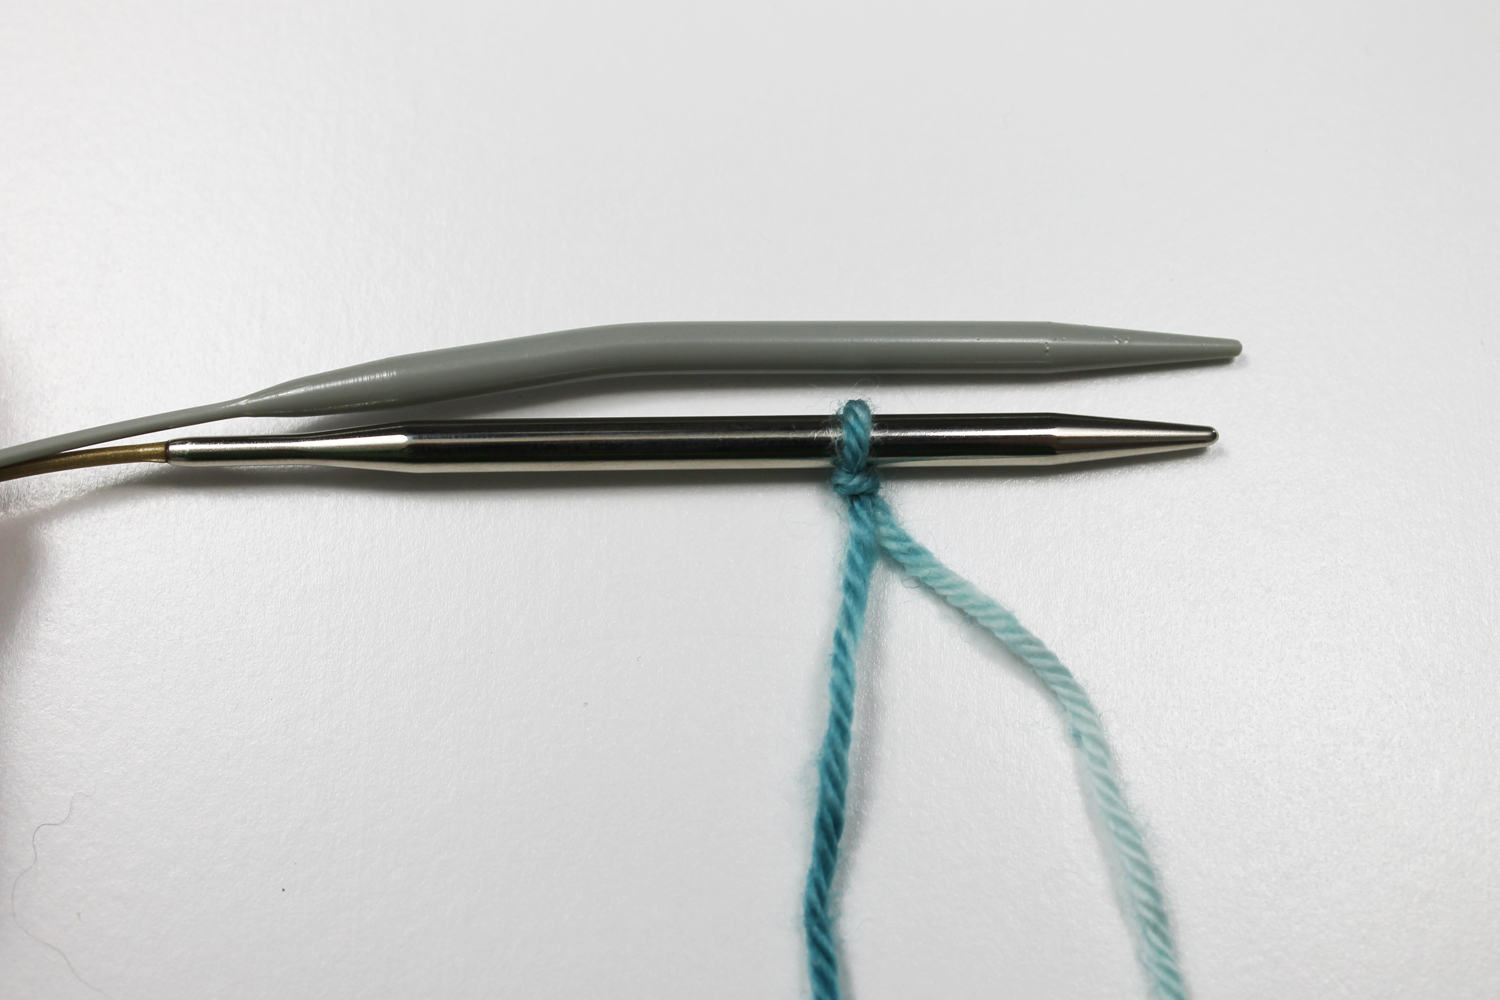
Hold needles parallel. For the sake of clarity, we'll call the top gray needle Needle A while the bottom silver needle will be Needle B.
Make a slipknot, then slide it onto Needle B.
Step 2:
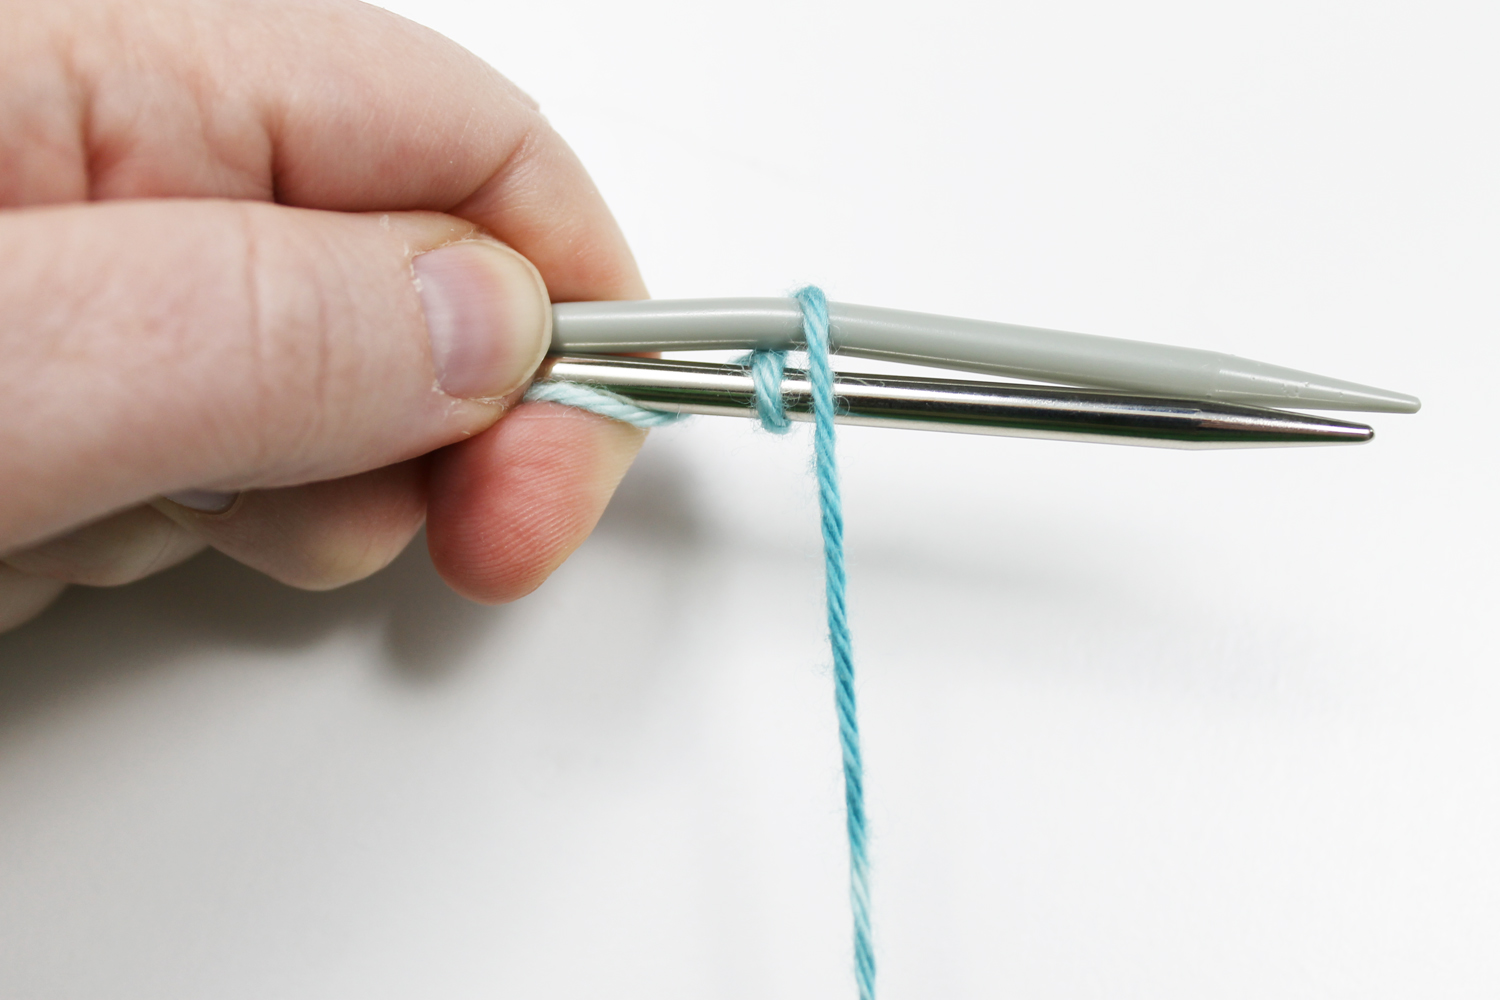
Grab the working yarn. (It's a good idea hold the slipknot tail out of the way for this step.) Begin wrapping the working yarn around both needles, from back to front.
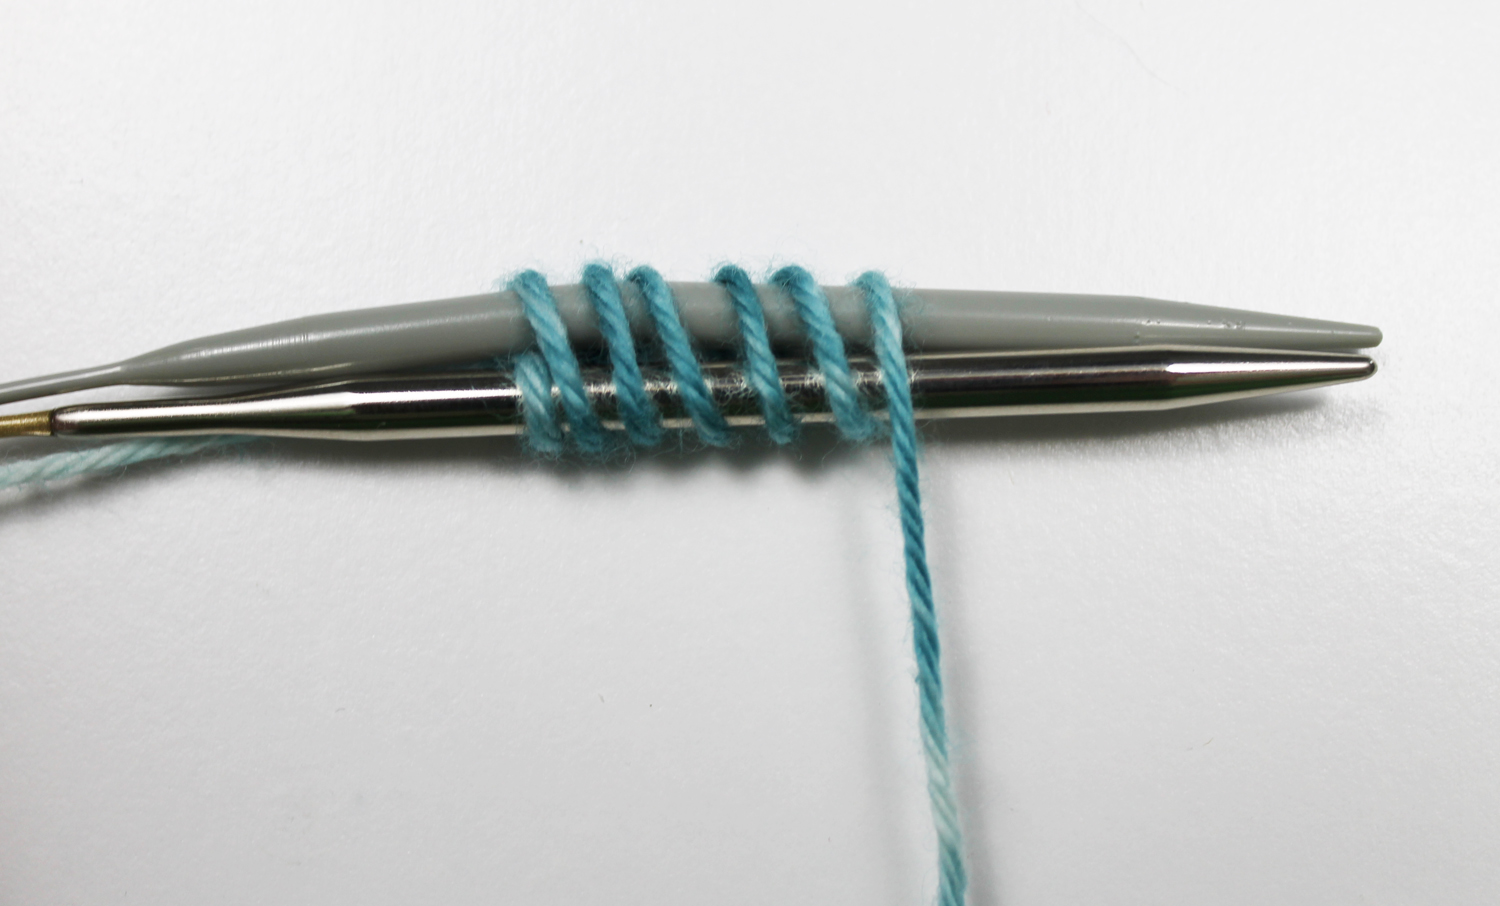
Wrap the yarn half as many times as the stitches you want to cast on. So if you want to cast on 12 stitches, wrap the yarn around 6 times.
Step 3:
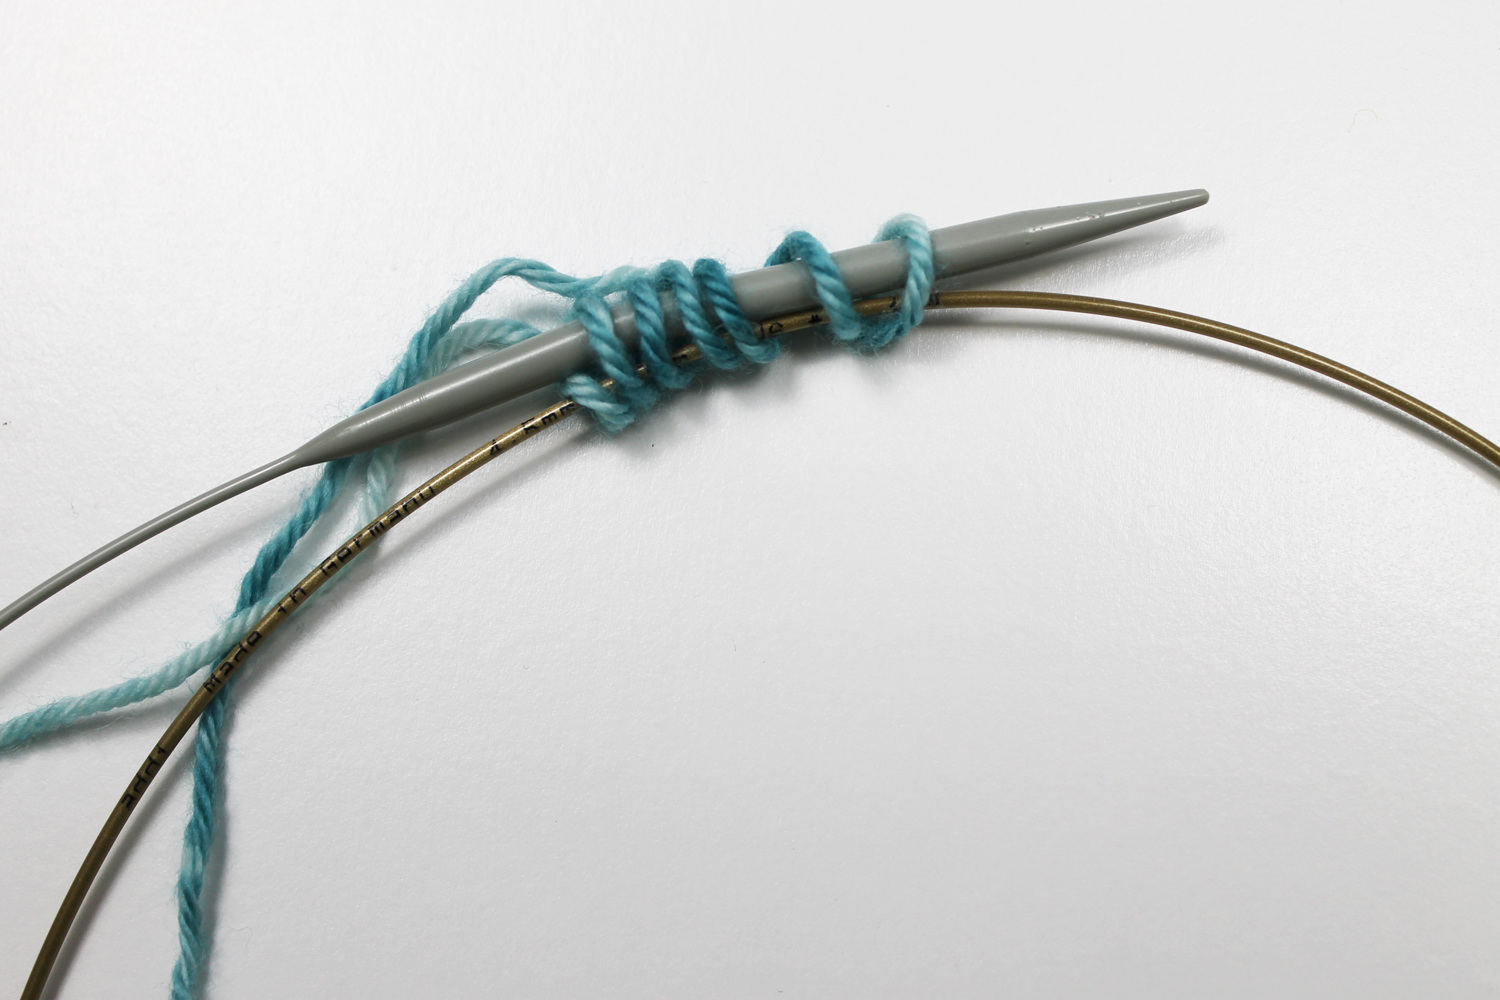
Wrap your fingers around the end of the cast on to hold it in place as you grab Needle B's tip and gently pull until the stitches rest on the cable. Drop Needle B for now.
Step 4:
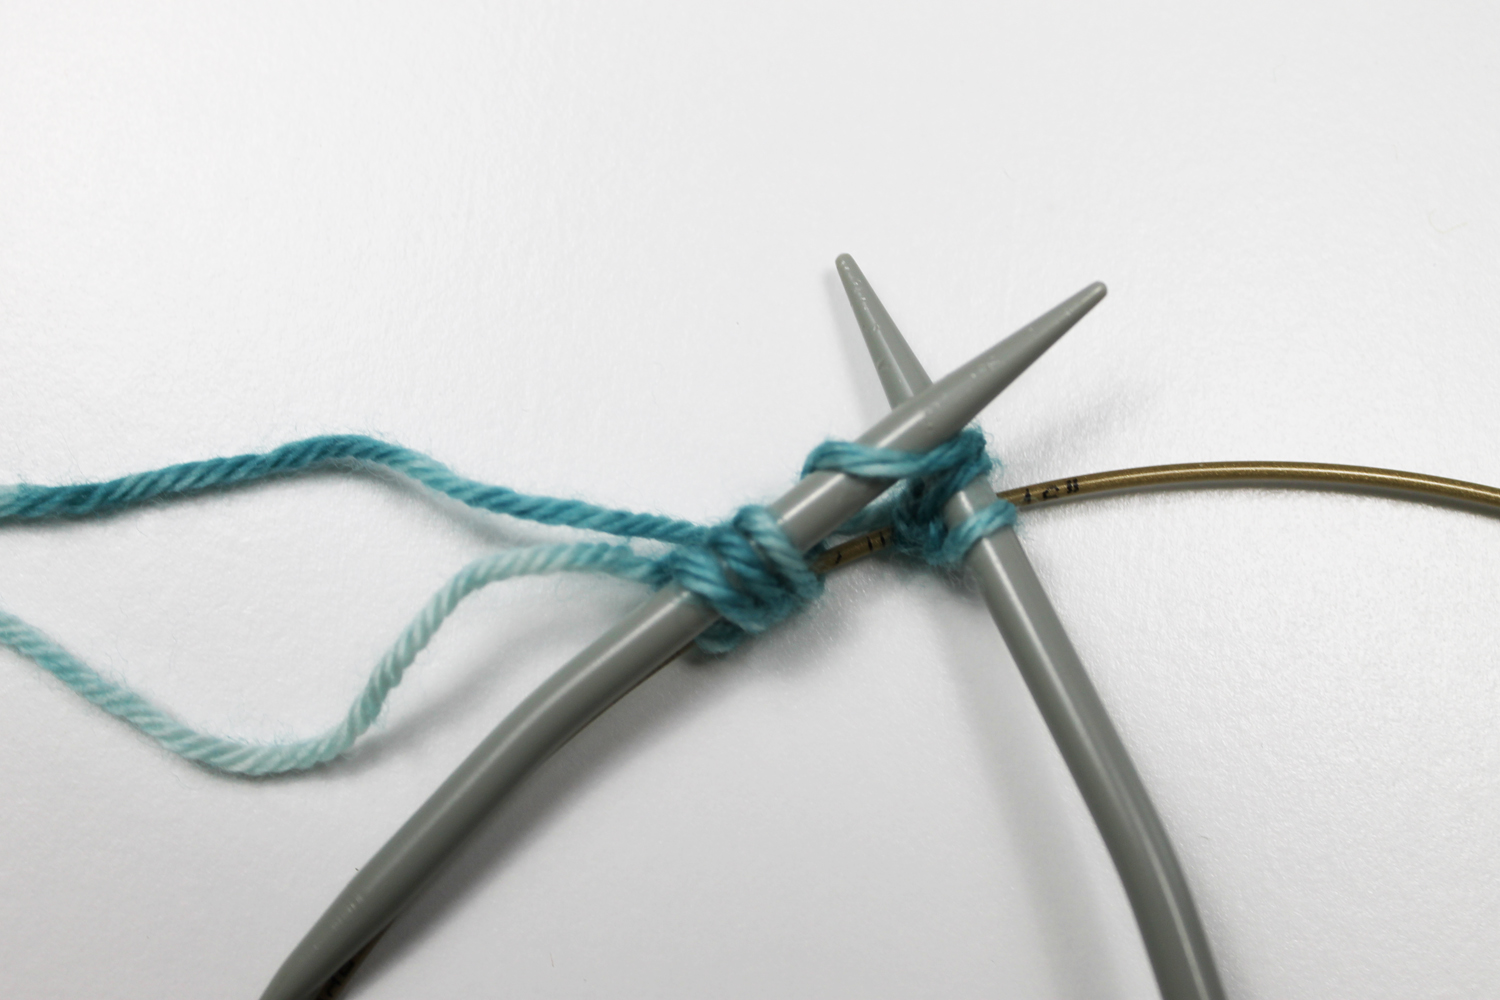
With the working yarn in back, knit across Needle A using the opposite tip of Needle A.
Tip: Pay close attention to your tension — it can easily get wonky here. As you knit across Needle A, the yarn wrapped around the needle will start to do funky things. Just be sure you're knitting the stitches tight enough to leave room for the stitches on the other needle, yet loose enough so that the stitches will easily slide back and forth on the needle.
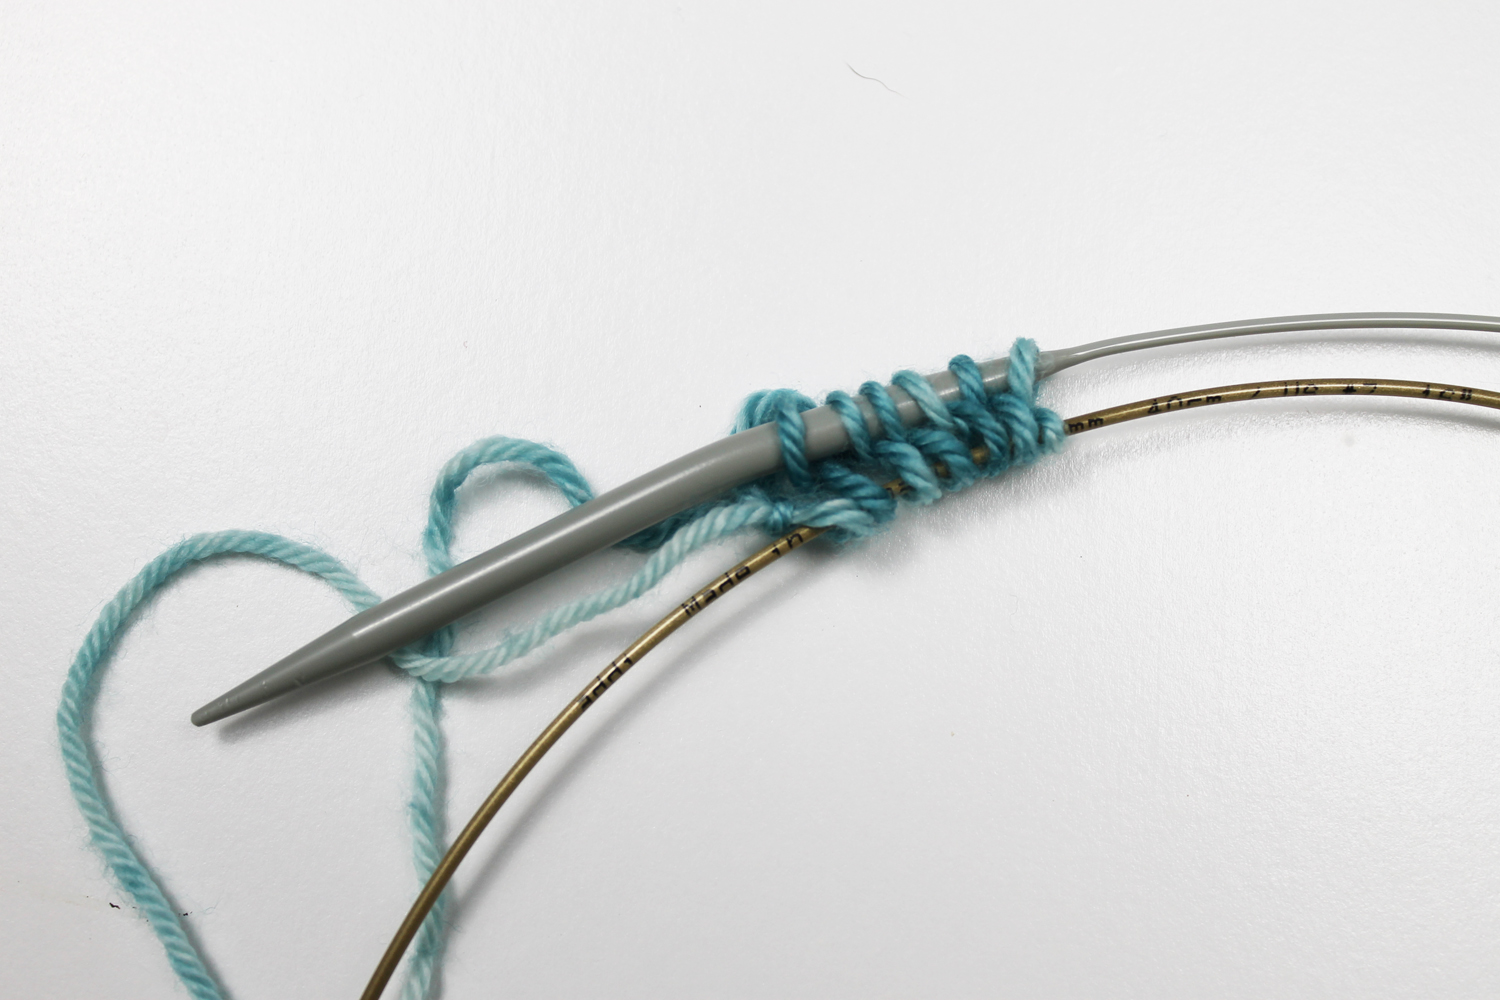
Half the round is complete!
Step 5:
Turn your work so that Needle B is on top. Slide Needle B's stitches off the cable and onto Needle B's tip. Grab Needle A's tip and gently pull until the stitches rest on the cable. Drop Needle A for now.
Drop the slipknot from Needle B. The slipknot was just there as a placeholder, so we don't need it now.
Step 6:

Notice that the stitches on this needle are not seated correctly on the needle. To fix that, knit through the back loop of each stitch across Needle B, using the opposite tip of Needle B.
Step 8:
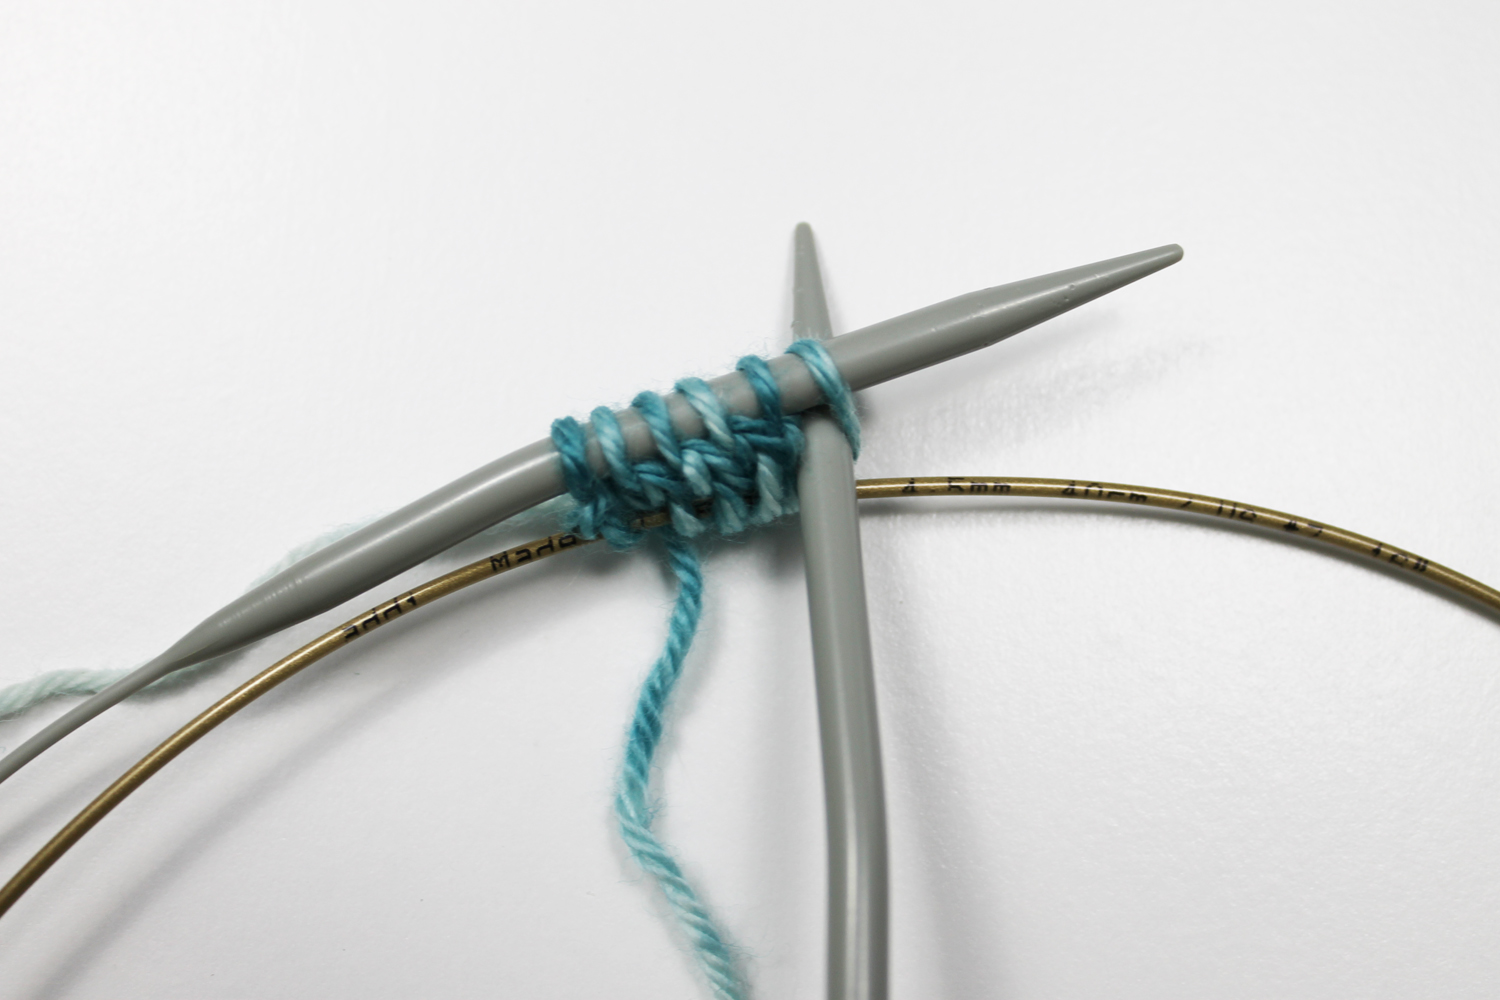
Repeat steps 3-7, sliding the stitches onto the needle cable each time you turn your work. When you reach Step 7, you can knit as usual rather than knitting through the back loop, since the stitches are seated properly now.
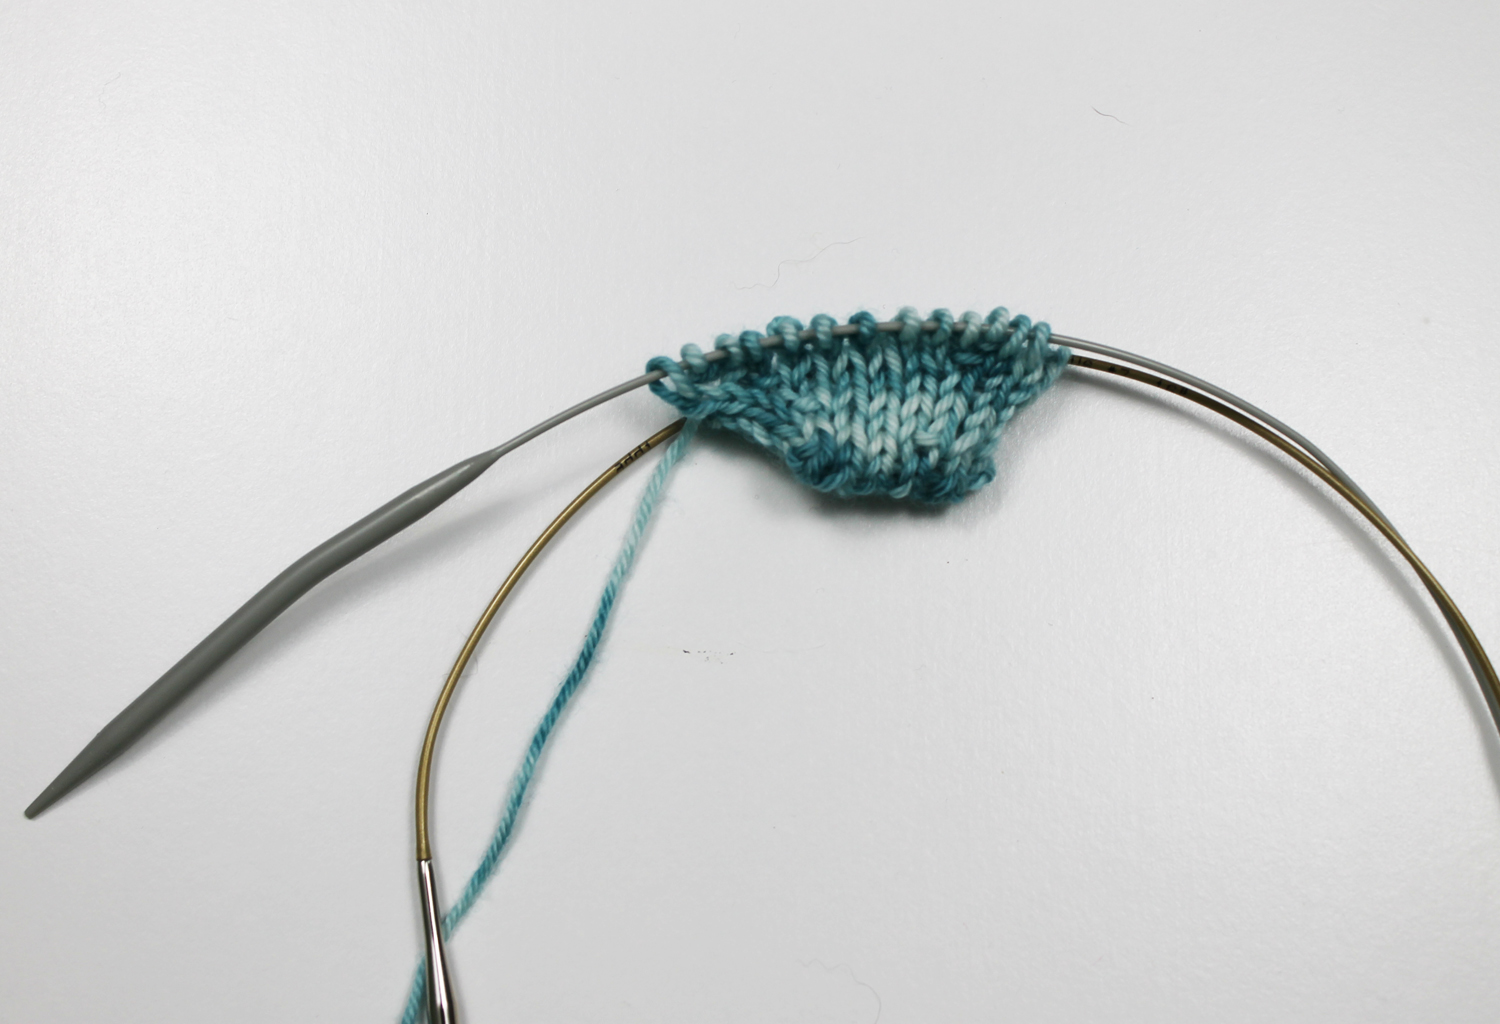
After a few rounds, or when you feel like your cast on is secure, transfer the work to your preferred method of stitching. If you knit in the round using two circular needles, just keep knitting!
Have you ever tried this method before? Do you have a different favorite cast on for toe-up socks? Tell us about why you love your fave method in the comments!
Looking for more? Check out this video by Corinna Ferguson on the Turkish Cast On!

It is really so much easier than these directions. I use it all the time. Perfect for provisional castons tool
There is a video for this cast on. Go to the free videos above and look for Mary Beth Temple's "Knitting a Toe-up sock on Magic Loop".
These are the most confusing instructions I've ever read. The pictures are too large and too few to make much sense as to what is happening. Try adding arrows into the pictures to show which way you are moving the needles or wrapping yarn . Pictures this close up are not always beneficial when they are static, not showing movement.
Looks interesting. So start increasing after the first two rows on each needle?
I'll stick with Judy's magic cast on, thanks!