Embellish Your Knits: French Knots
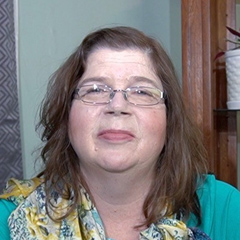
Mary Beth TempleThere are many ways to add special little details to your knitting projects. Adding embroidery to your knitting is fun and easy and in this video Mary Beth Temple shows you specifically how to add French Knots to your knitting projects.
If you are familiar with adding French Knots to standard embroidery projects, these knots are created almost the same way. Mary Beth begins with her contrasting colored yarn threaded through a blunt-tipped tapestry needle. She leaves an approximately 6-inch yarn tail at the back of the work to weave in when the French Knots are complete.
She makes the French Knots on her knitting fabric following these steps:
- - Bring yarn up through the center of a stitch, pulling snugly but not too tight.
- - Make an overhand knot with the tapestry needle, pinching the loop to the fabric
- - Pull yarn to make knot, making sure knot is directly next to the knitted fabric
- - Bring tapestry needle and yarn through the center of the stitch directly above where the knot was created
These steps are repeated for each knot. Once all the knots are created, the ends of the contrasting yarn used to make the French Knots can be woven into the project and trimmed. Mary Beth points out that in standard embroidery, the needle would be worked back through the same spot on the fabric to complete the knot. However, when adding French Knots to a knitting project, it’s important to finish the knot by going through the stitch next to where the knot was created. This prevents the French Knot from poking through to the Wrong Side of the fabric.
